

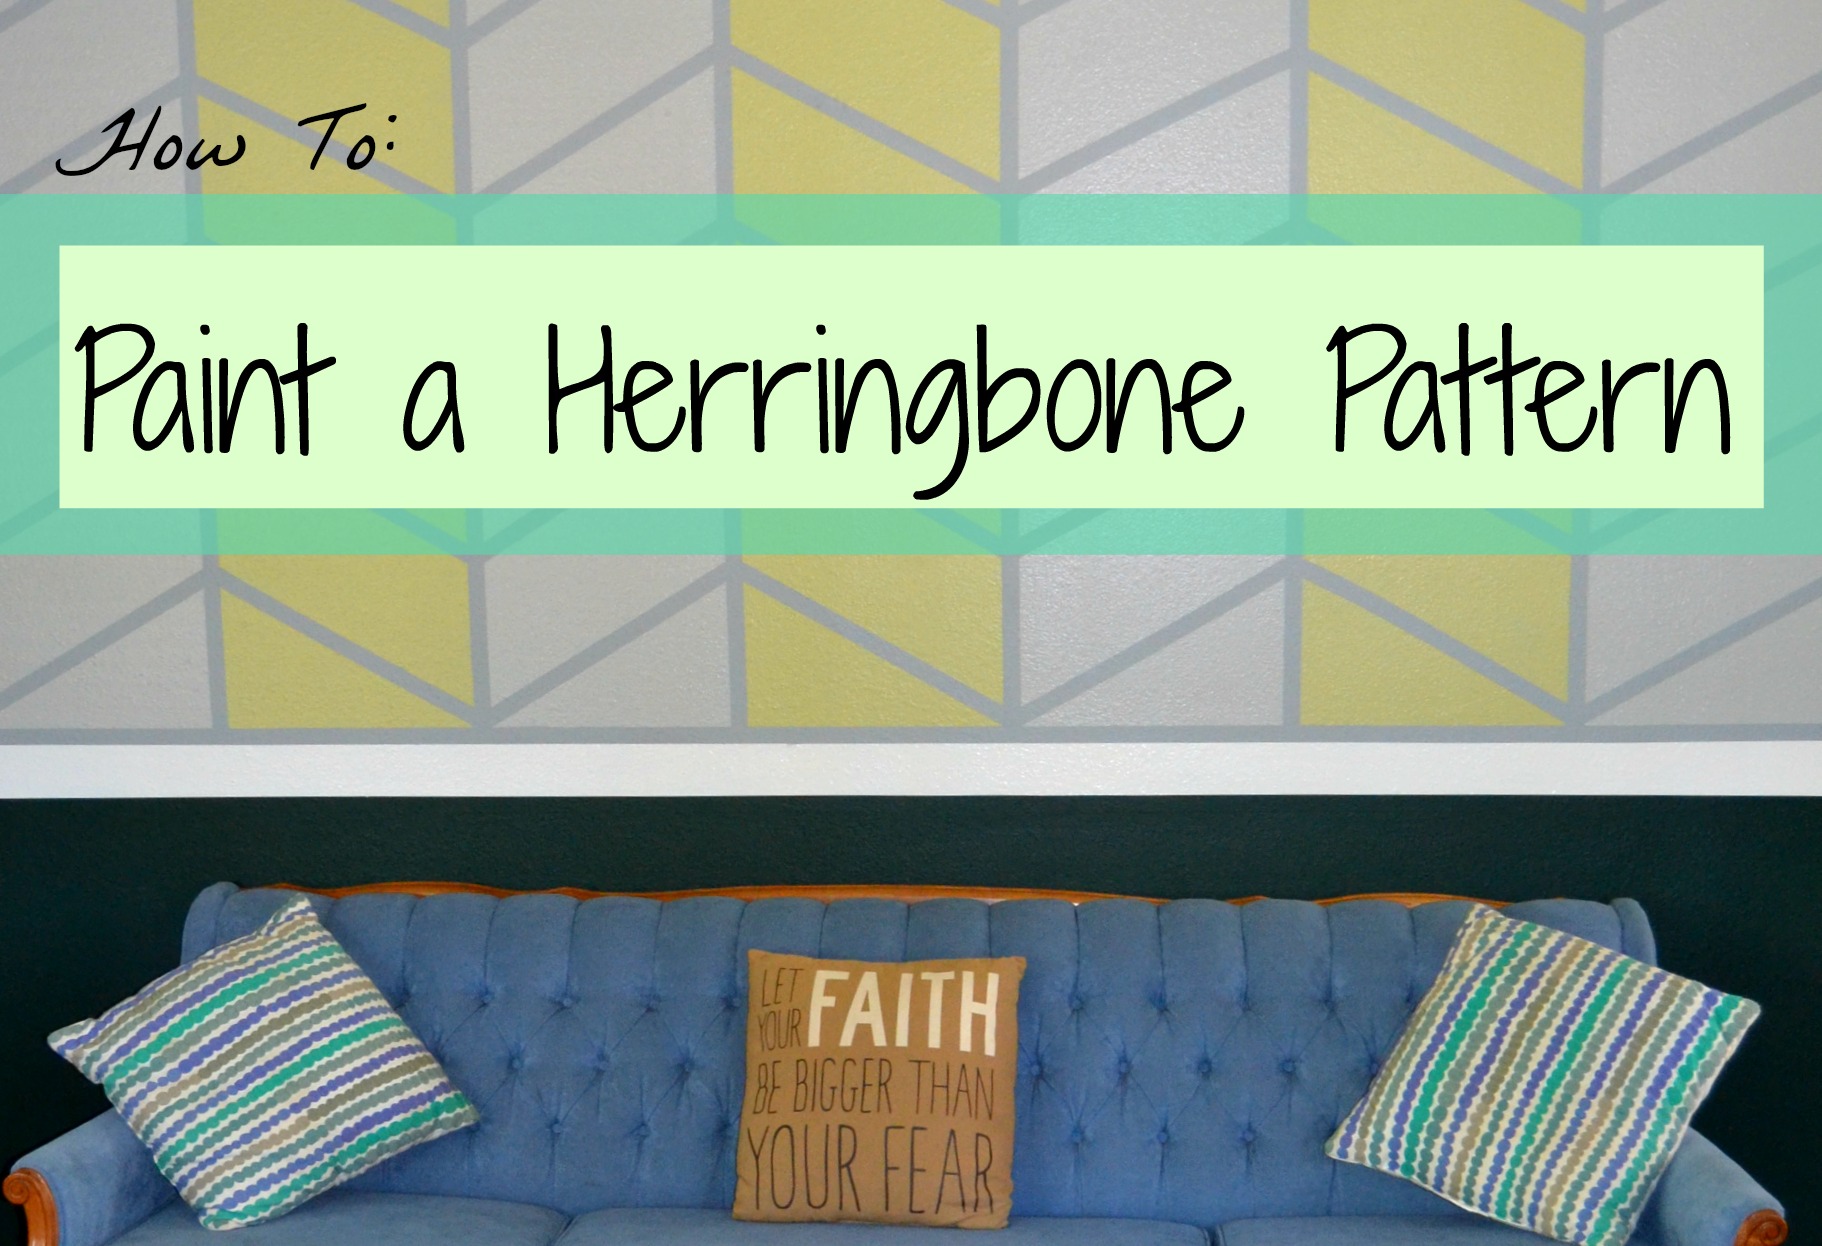
Herringbone is very on-trend right now, and the pattern seemed like the perfect match for my large wall in my living room. I searched for other people’s projects on Pinterest, but did not really find many DIY posts on the topic. I hope people wanting to go for this awesome look, will find this post helpful and encouraging. You can do it!
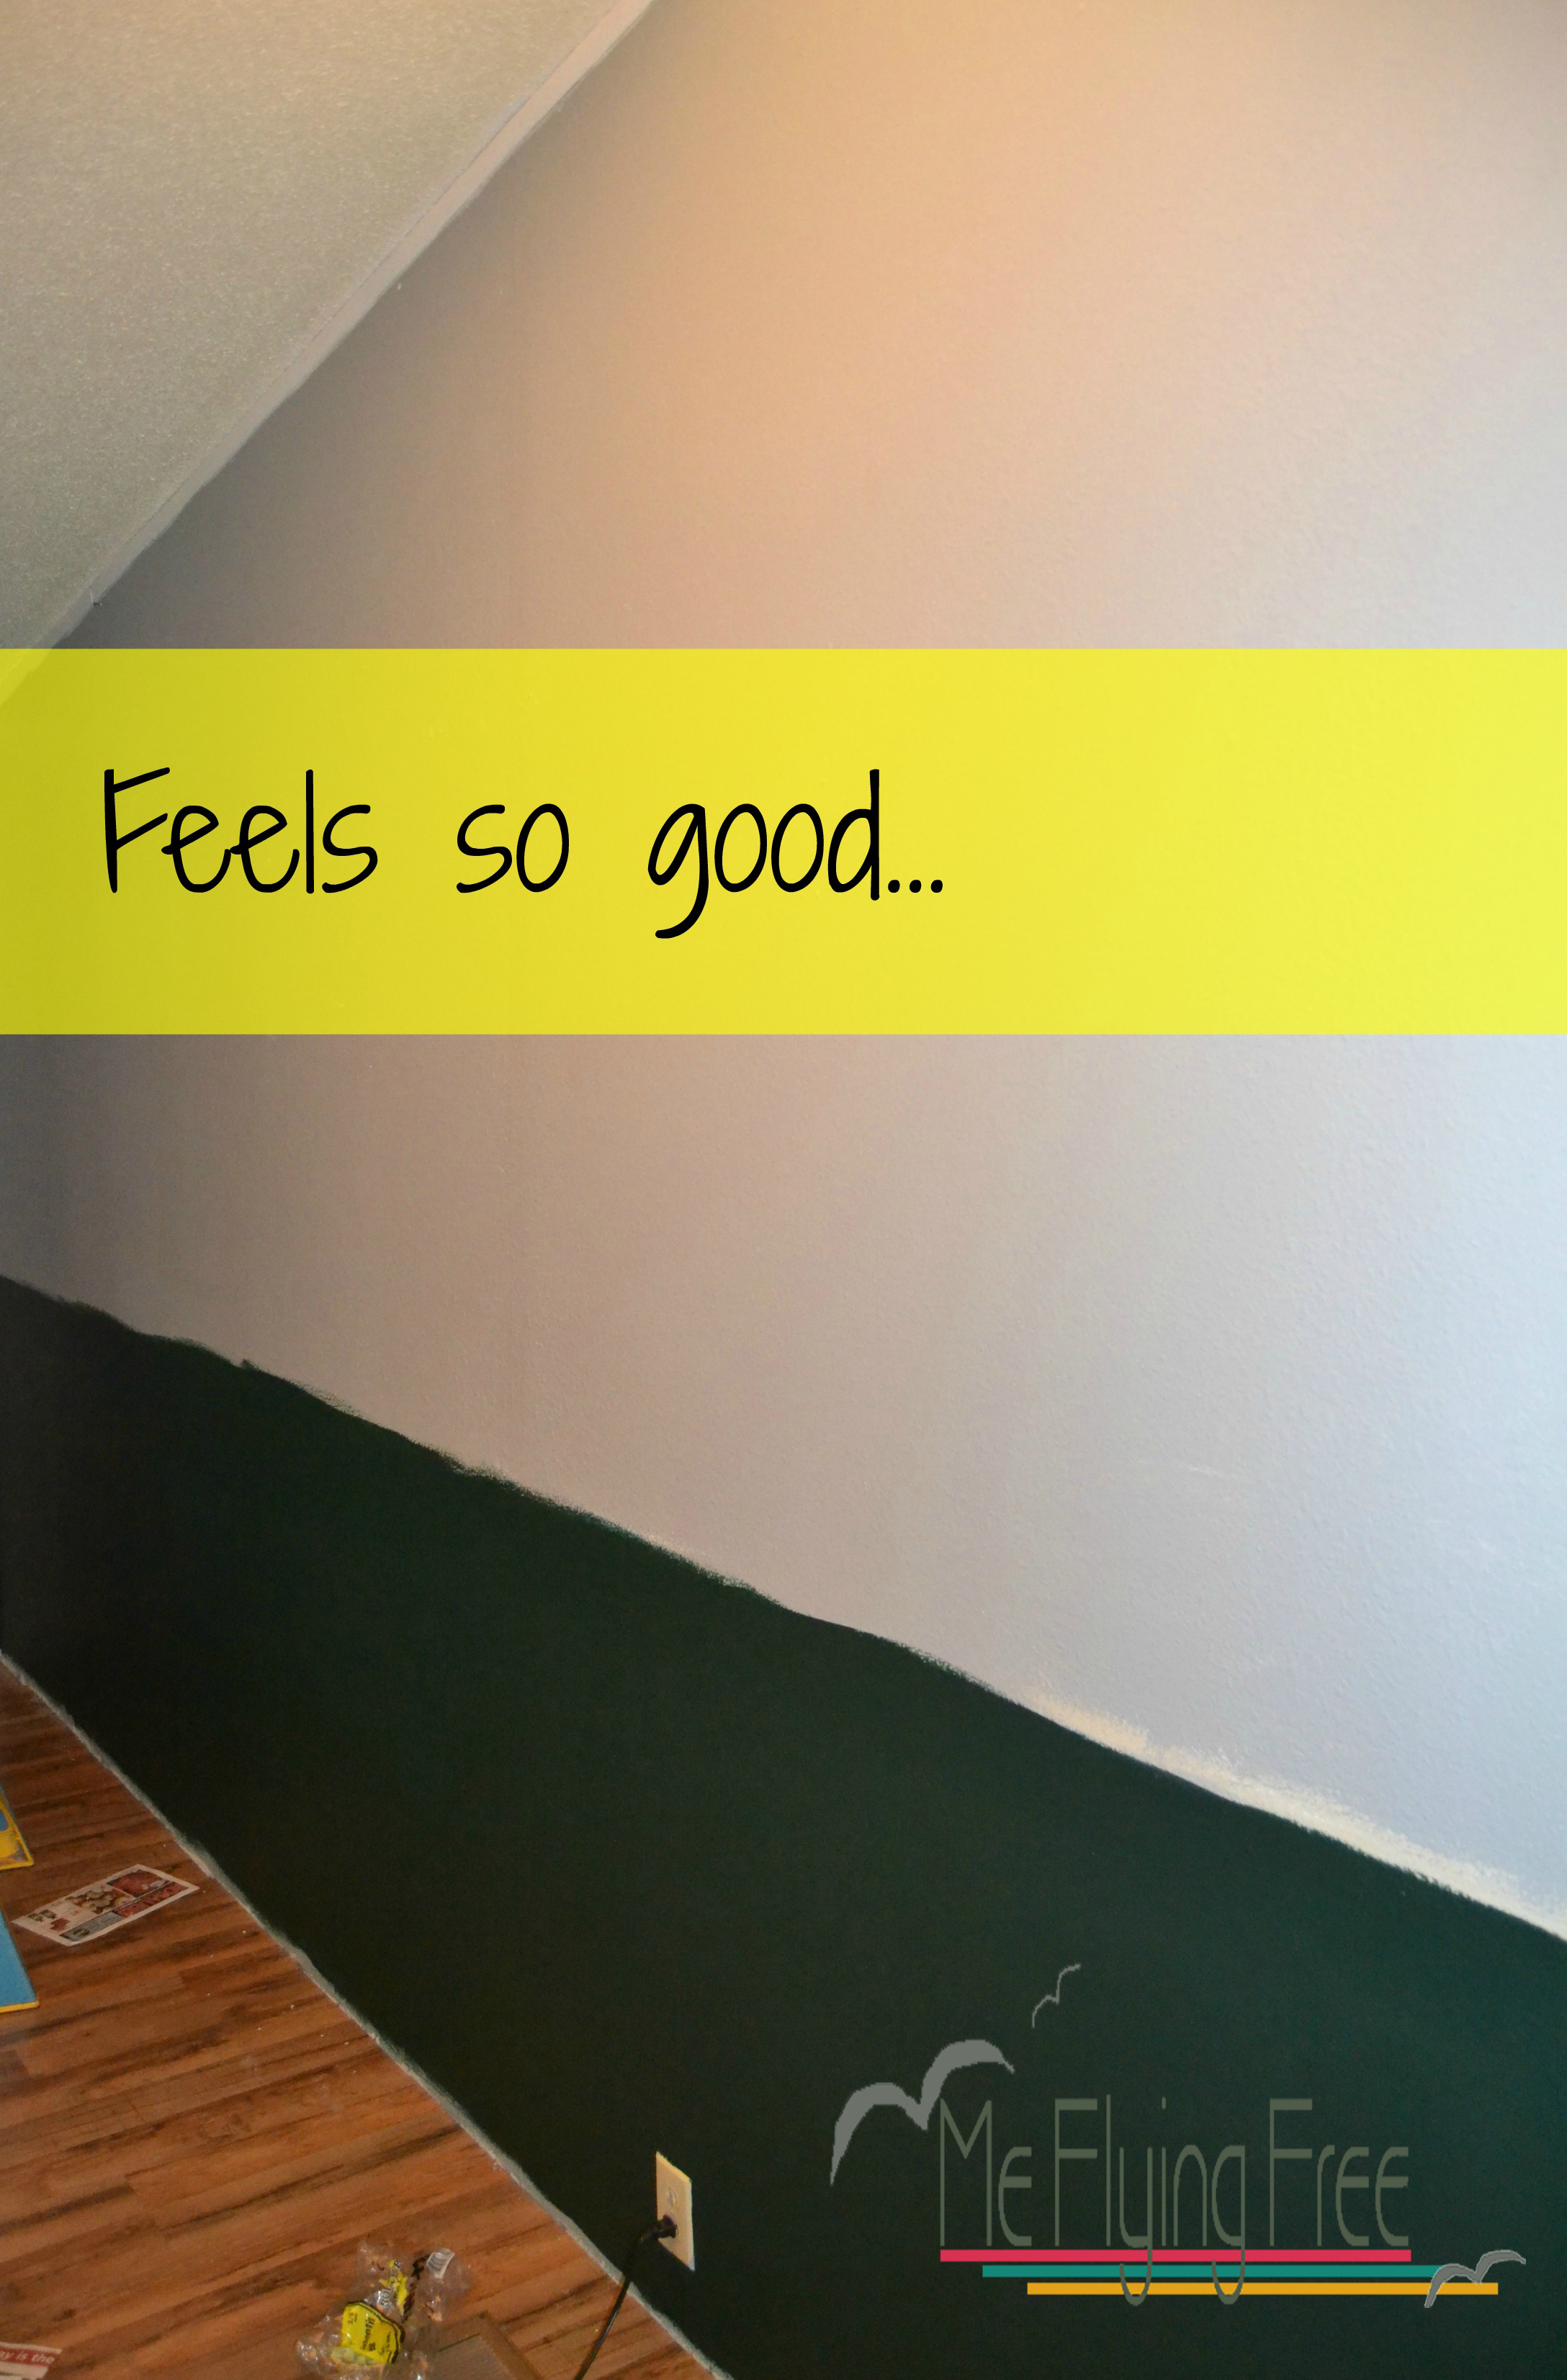
When we moved into our home, I painted the largest wall in my living room this grayish color. It turned out to be more blue than gray. I have hated it pretty much from day one. I decided to work with it, but to add some more colors and do something fun. I feel really good finally doing something different with the wall.
Follow along with my project, and you should feel very confident trying this on your own. Herringbone equals Happy!
Supplies:
- Paint, 2+ colors. Probably a gallon of the main line color and quarts for the rest.
- Brushes (1 per color of paint)
- Stiff Artist’s Brush for the final touch-ups
- Roller, Roller Cover/s (1 per color of paint), Handle Extender (for tall walls)
- 1-2 Rolls Painters Tape – I strongly recommend the Green Frog Tape. You will get the best results with this!
- Level
- File Folder, Card Stock or Similar (for Measuring)
- Pencil
Step 1: Paint the wall.
I used the current color, but if you want something different than what you have, you will need to paint the wall the color that you want the lines of the herringbone pattern to be. You will need to have extra of this color to seal in your paint lines, so make sure you have more than enough (I would estimate about 1 gallon for a large wall). Let it dry completely before proceeding any further.
I added some dark turquoise to the bottom of the wall for a faux chair rail effect, but you don’t have to do that. I will hopefully post later about how I did that for anyone who wants to do that as well.
 Step 2: Tape off Baseline.
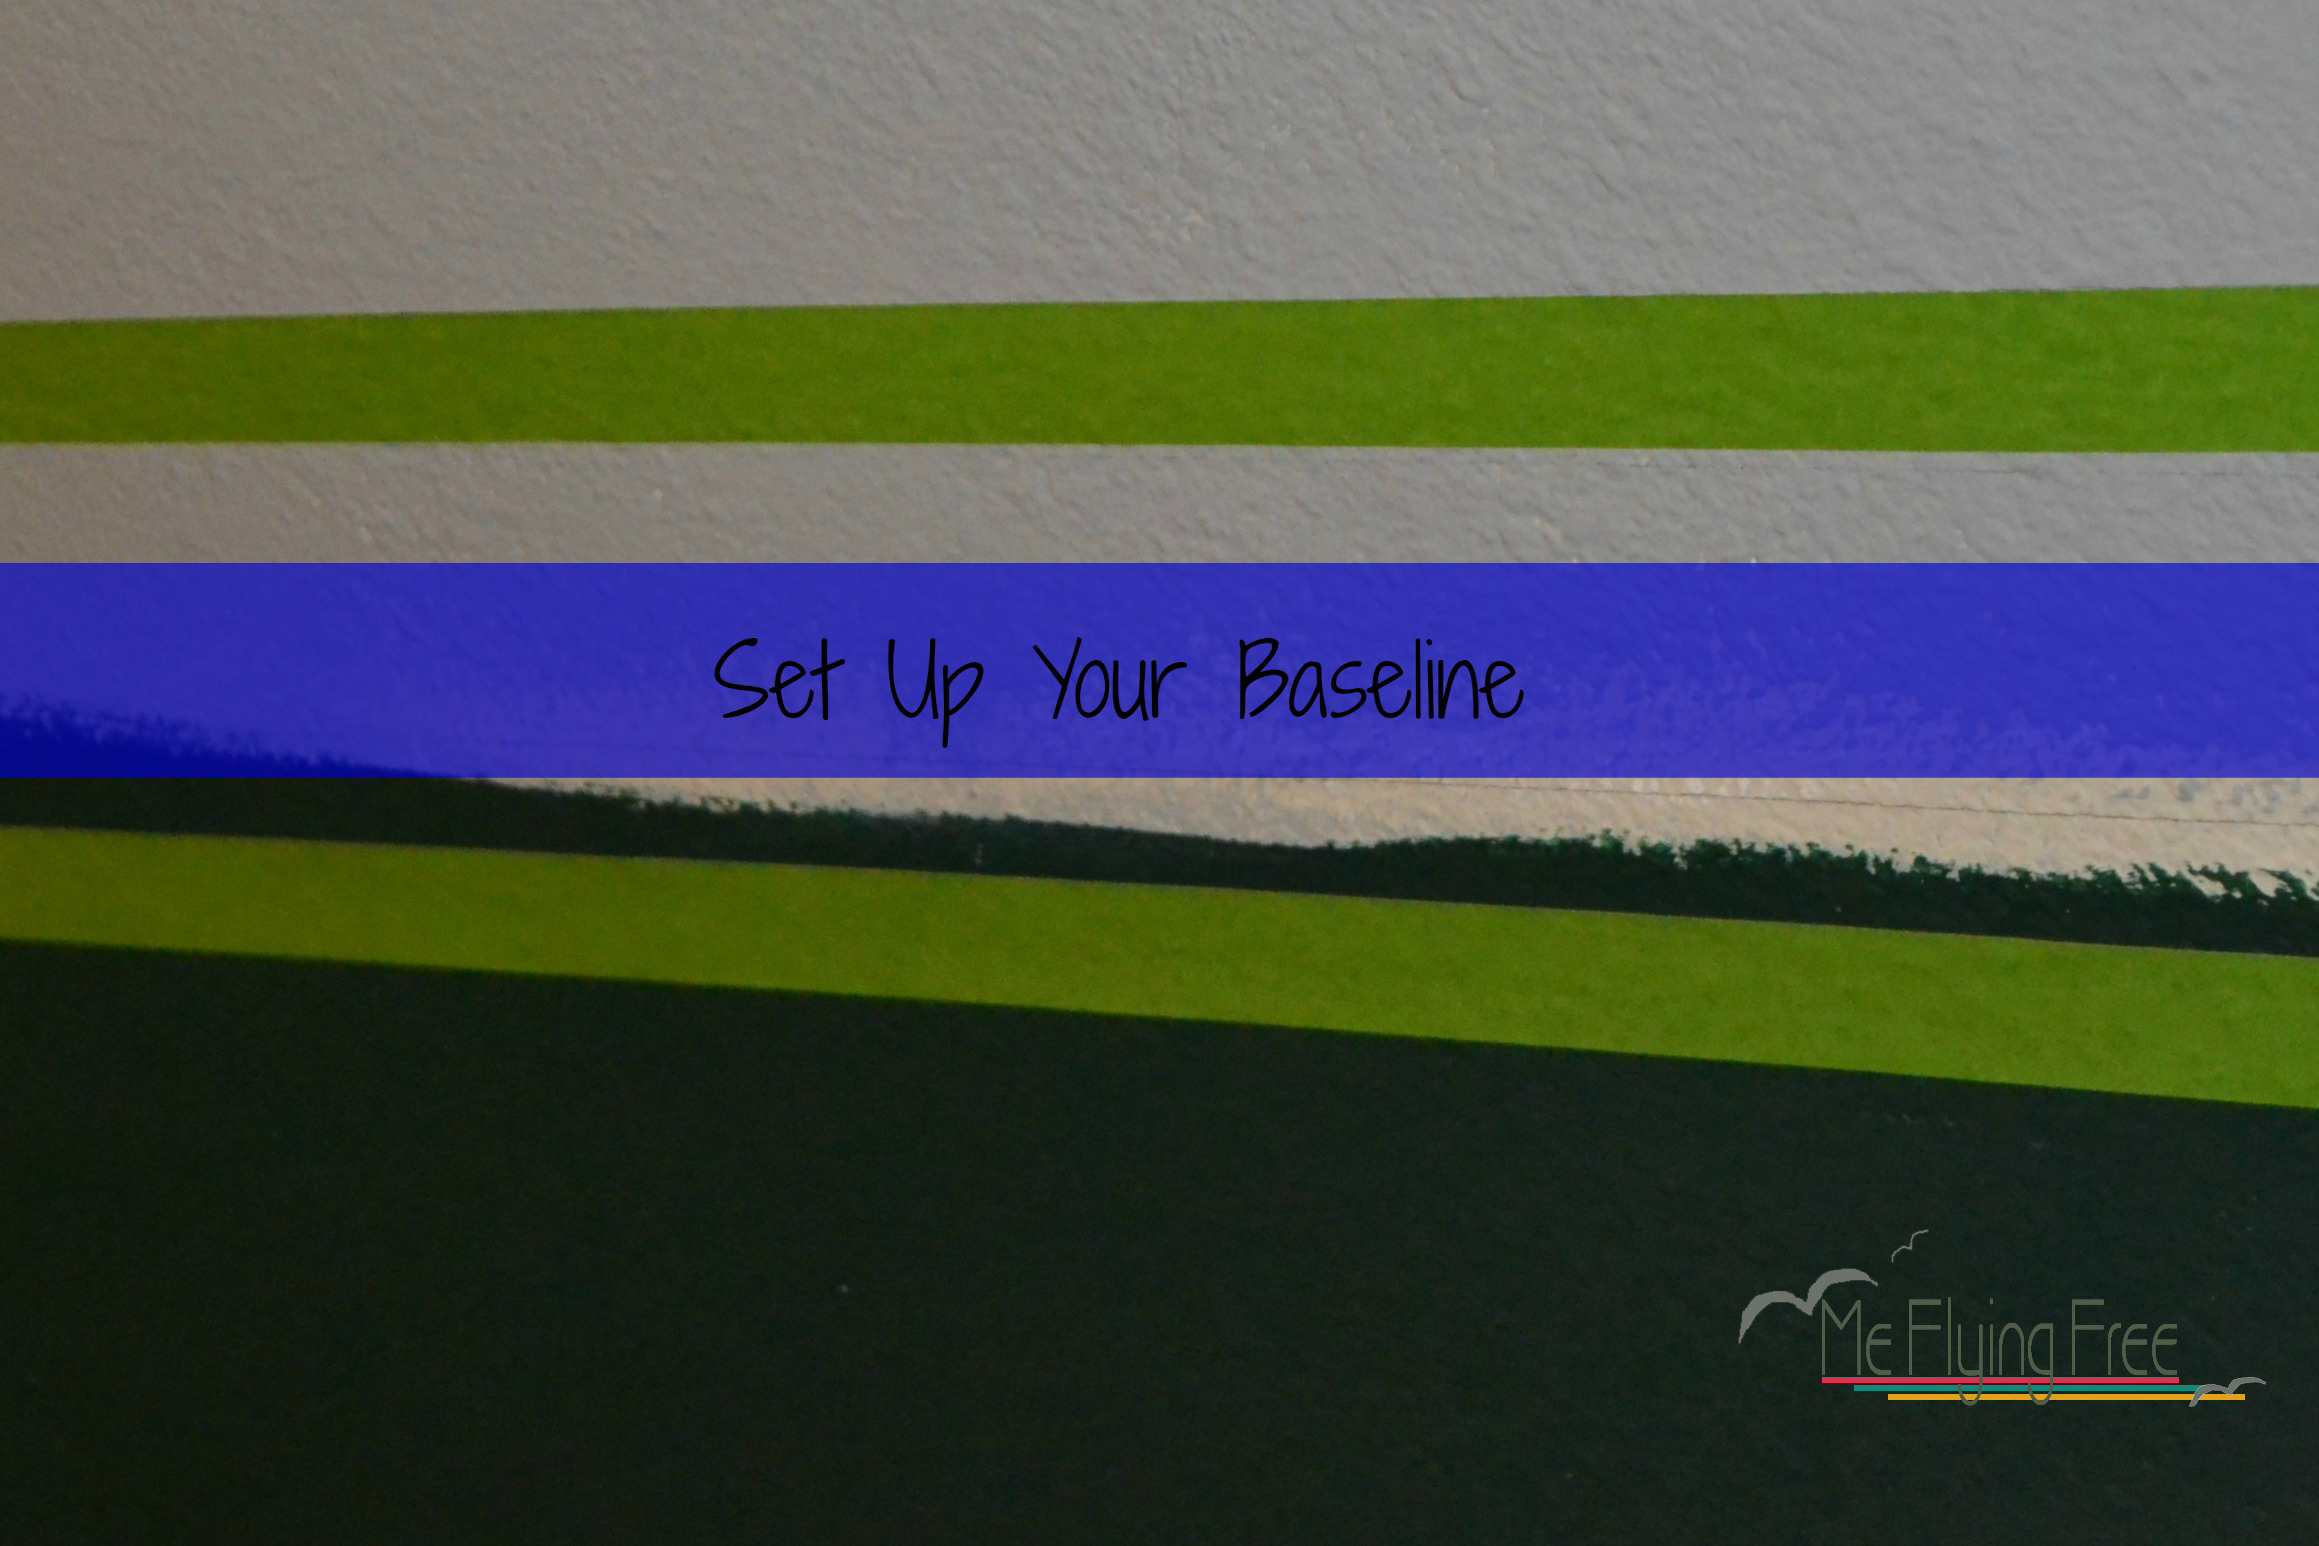
Since I did the chair rail, I measured where that would be, and I used my level to tape it off. If you are going from floor to ceiling, tape the edge next to your floor trim. Tape next to the ceiling and the edges of the wall to create a border around the whole wall. I did it later on, but I would recommend doing it now.
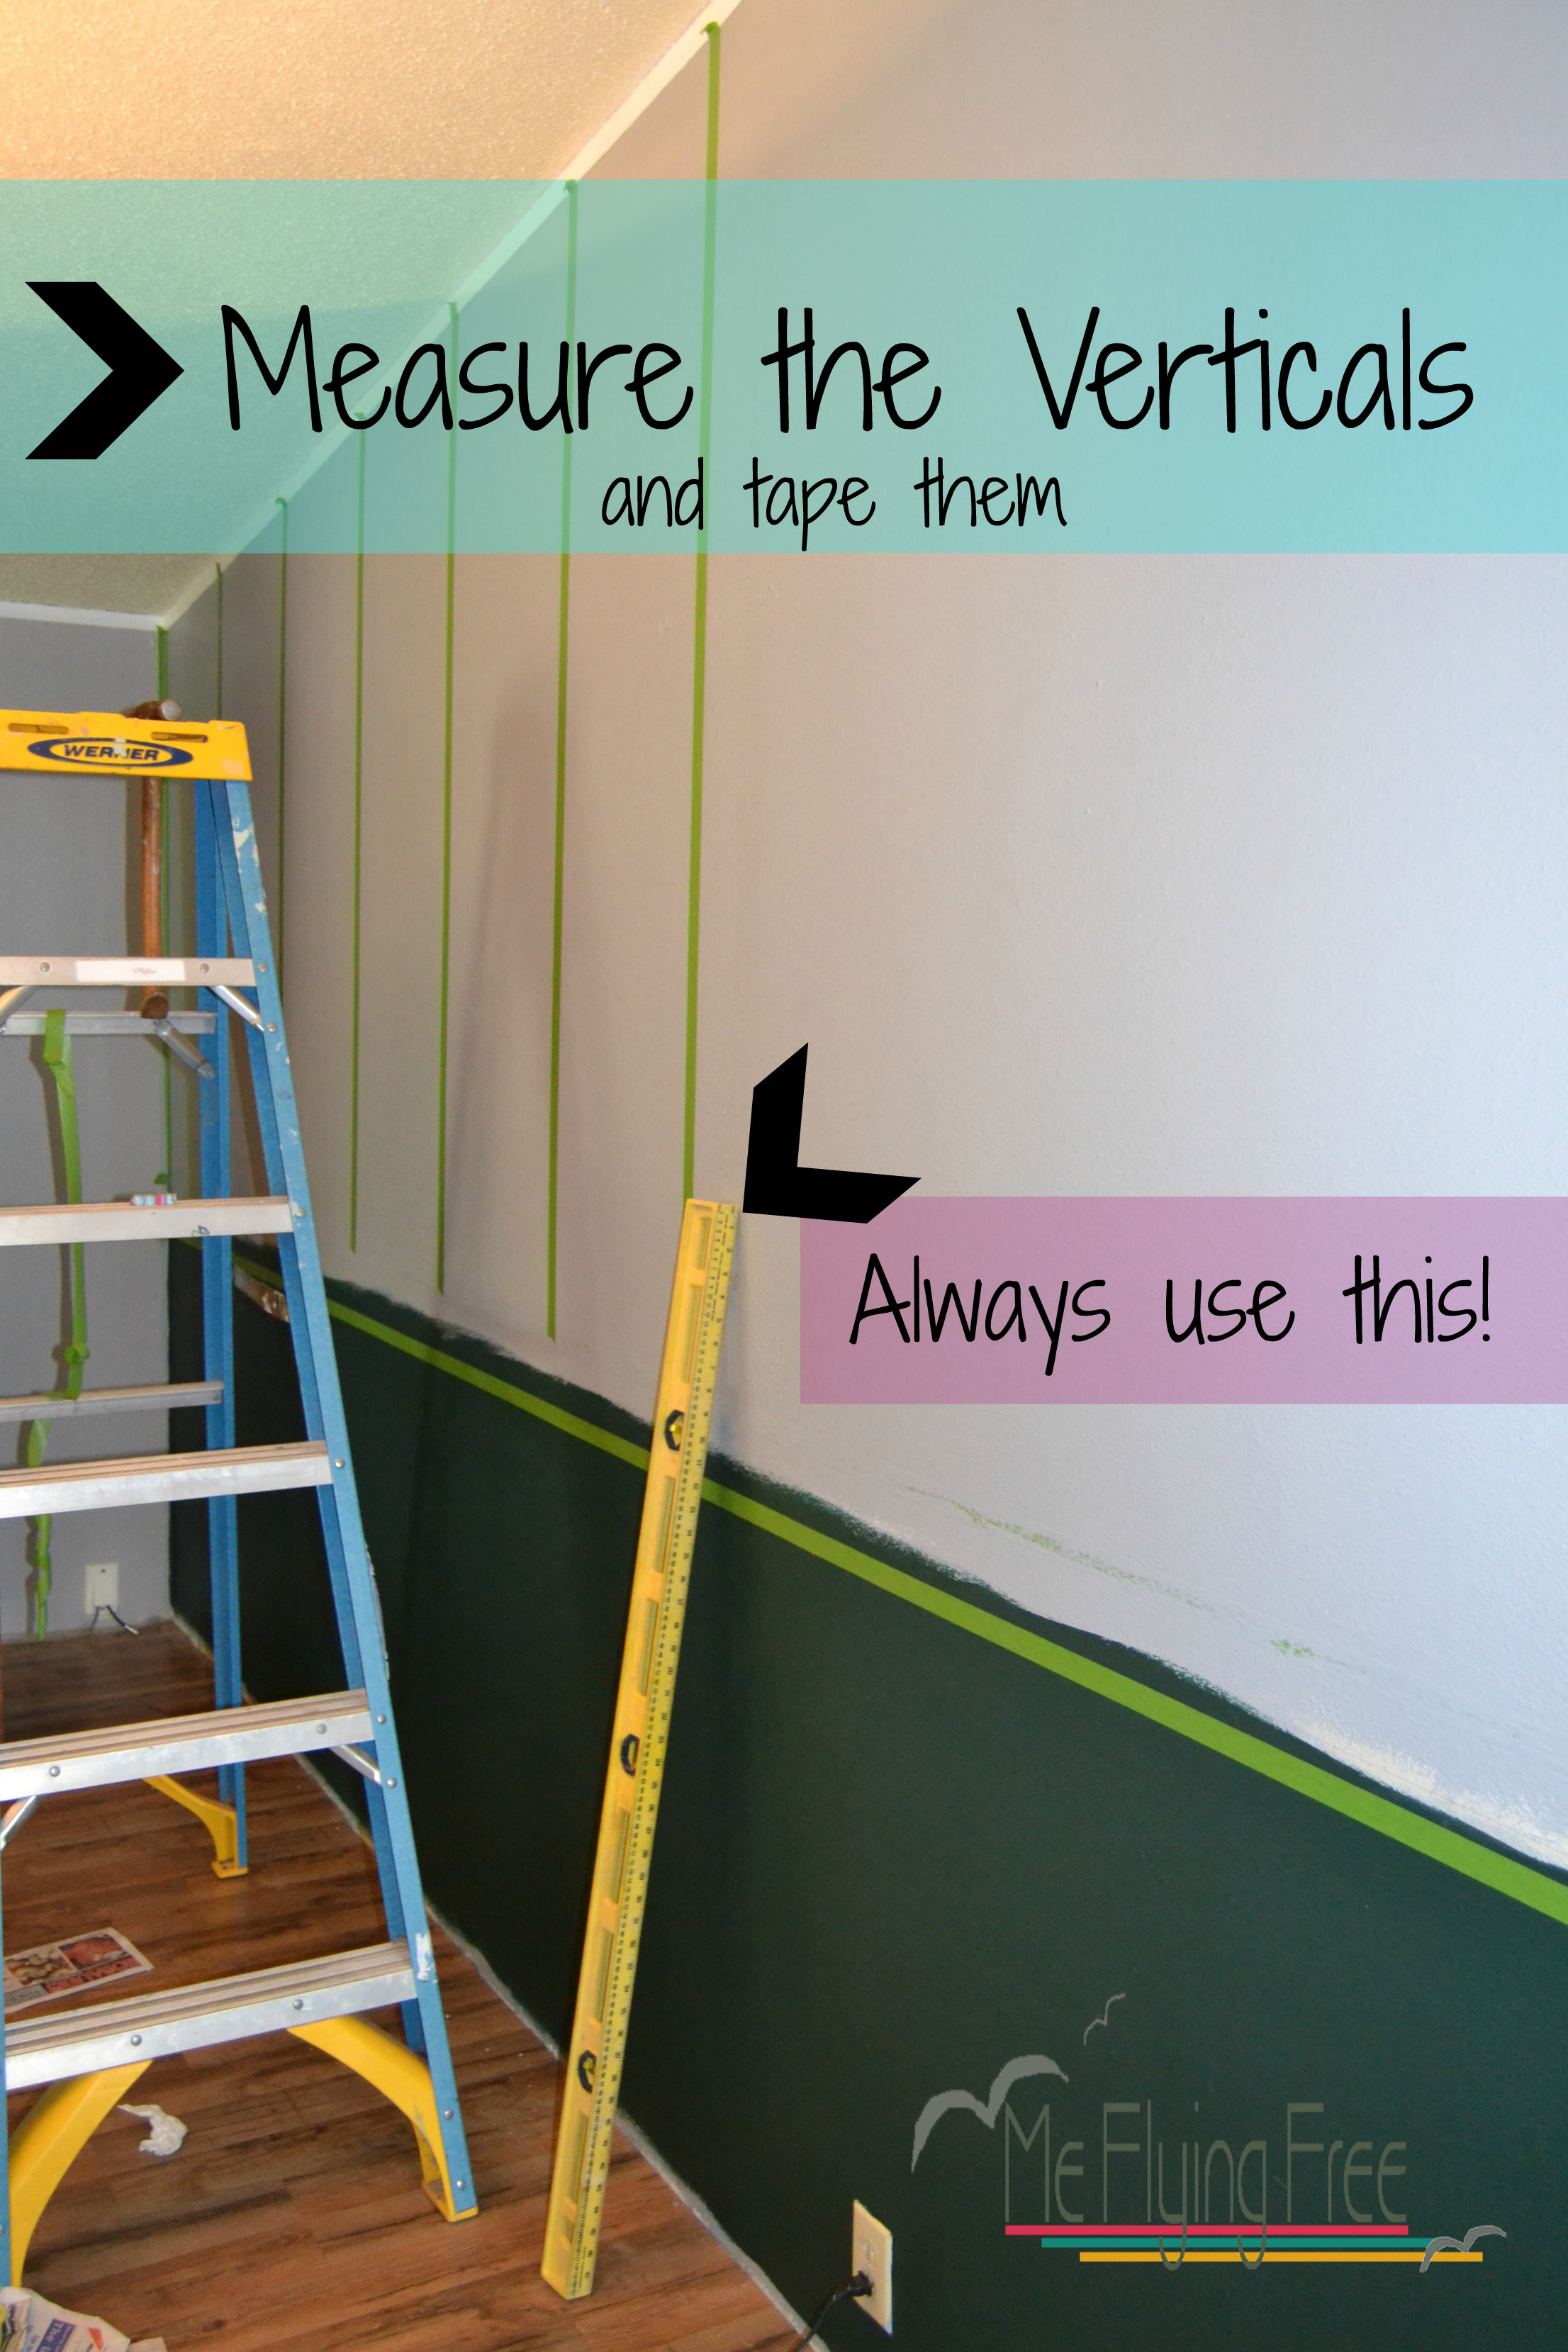
 Step 3: Measure the vertical lines for the herringbone patter.
Here is the formula I used to do this:
Measure the width of the wall. Convert to inches.
For example, if you have a 14 foot wall, multiply 14 times 12 to get the amount of inches = 168.
To decide the width of the sections, just keep it simple and make your sections 12 inches because it goes into 168 fourteen times 14 times (there will be 14 total sections).
Now you need to remember to subtract the width of the tape from 12. So if you are using 1 inch tape, you would measure 11 inches, tape, measure 11 inches, and repeat to the end of the wall. You should get fairly even sections by doing this.
However, the tape actually only measures .94 inches not 1 inch so if you are wanting to make sure that it is exactly symmetrical, you may want to start measuring and taping from the center of the wall to either side. This way, if there is a section on the edge that is smaller, there will be one on the other side as well.
(Just as another example, let’s say you have a 3 1/2 foot wall. Multiply 3.5 X 12 to get 42. Forty-two is easily divided by 6 or 7. Just decide whether you want 6 sections that are 7 inches or vise-versa. Let’s say we want 6 sections that are 7 inches. We deduct the width of the tape to get 5.5 inch sections. Tape, measure 5.5, tape, repeat.)
 Step 4: Tape the Lines – Use Your Level!!!
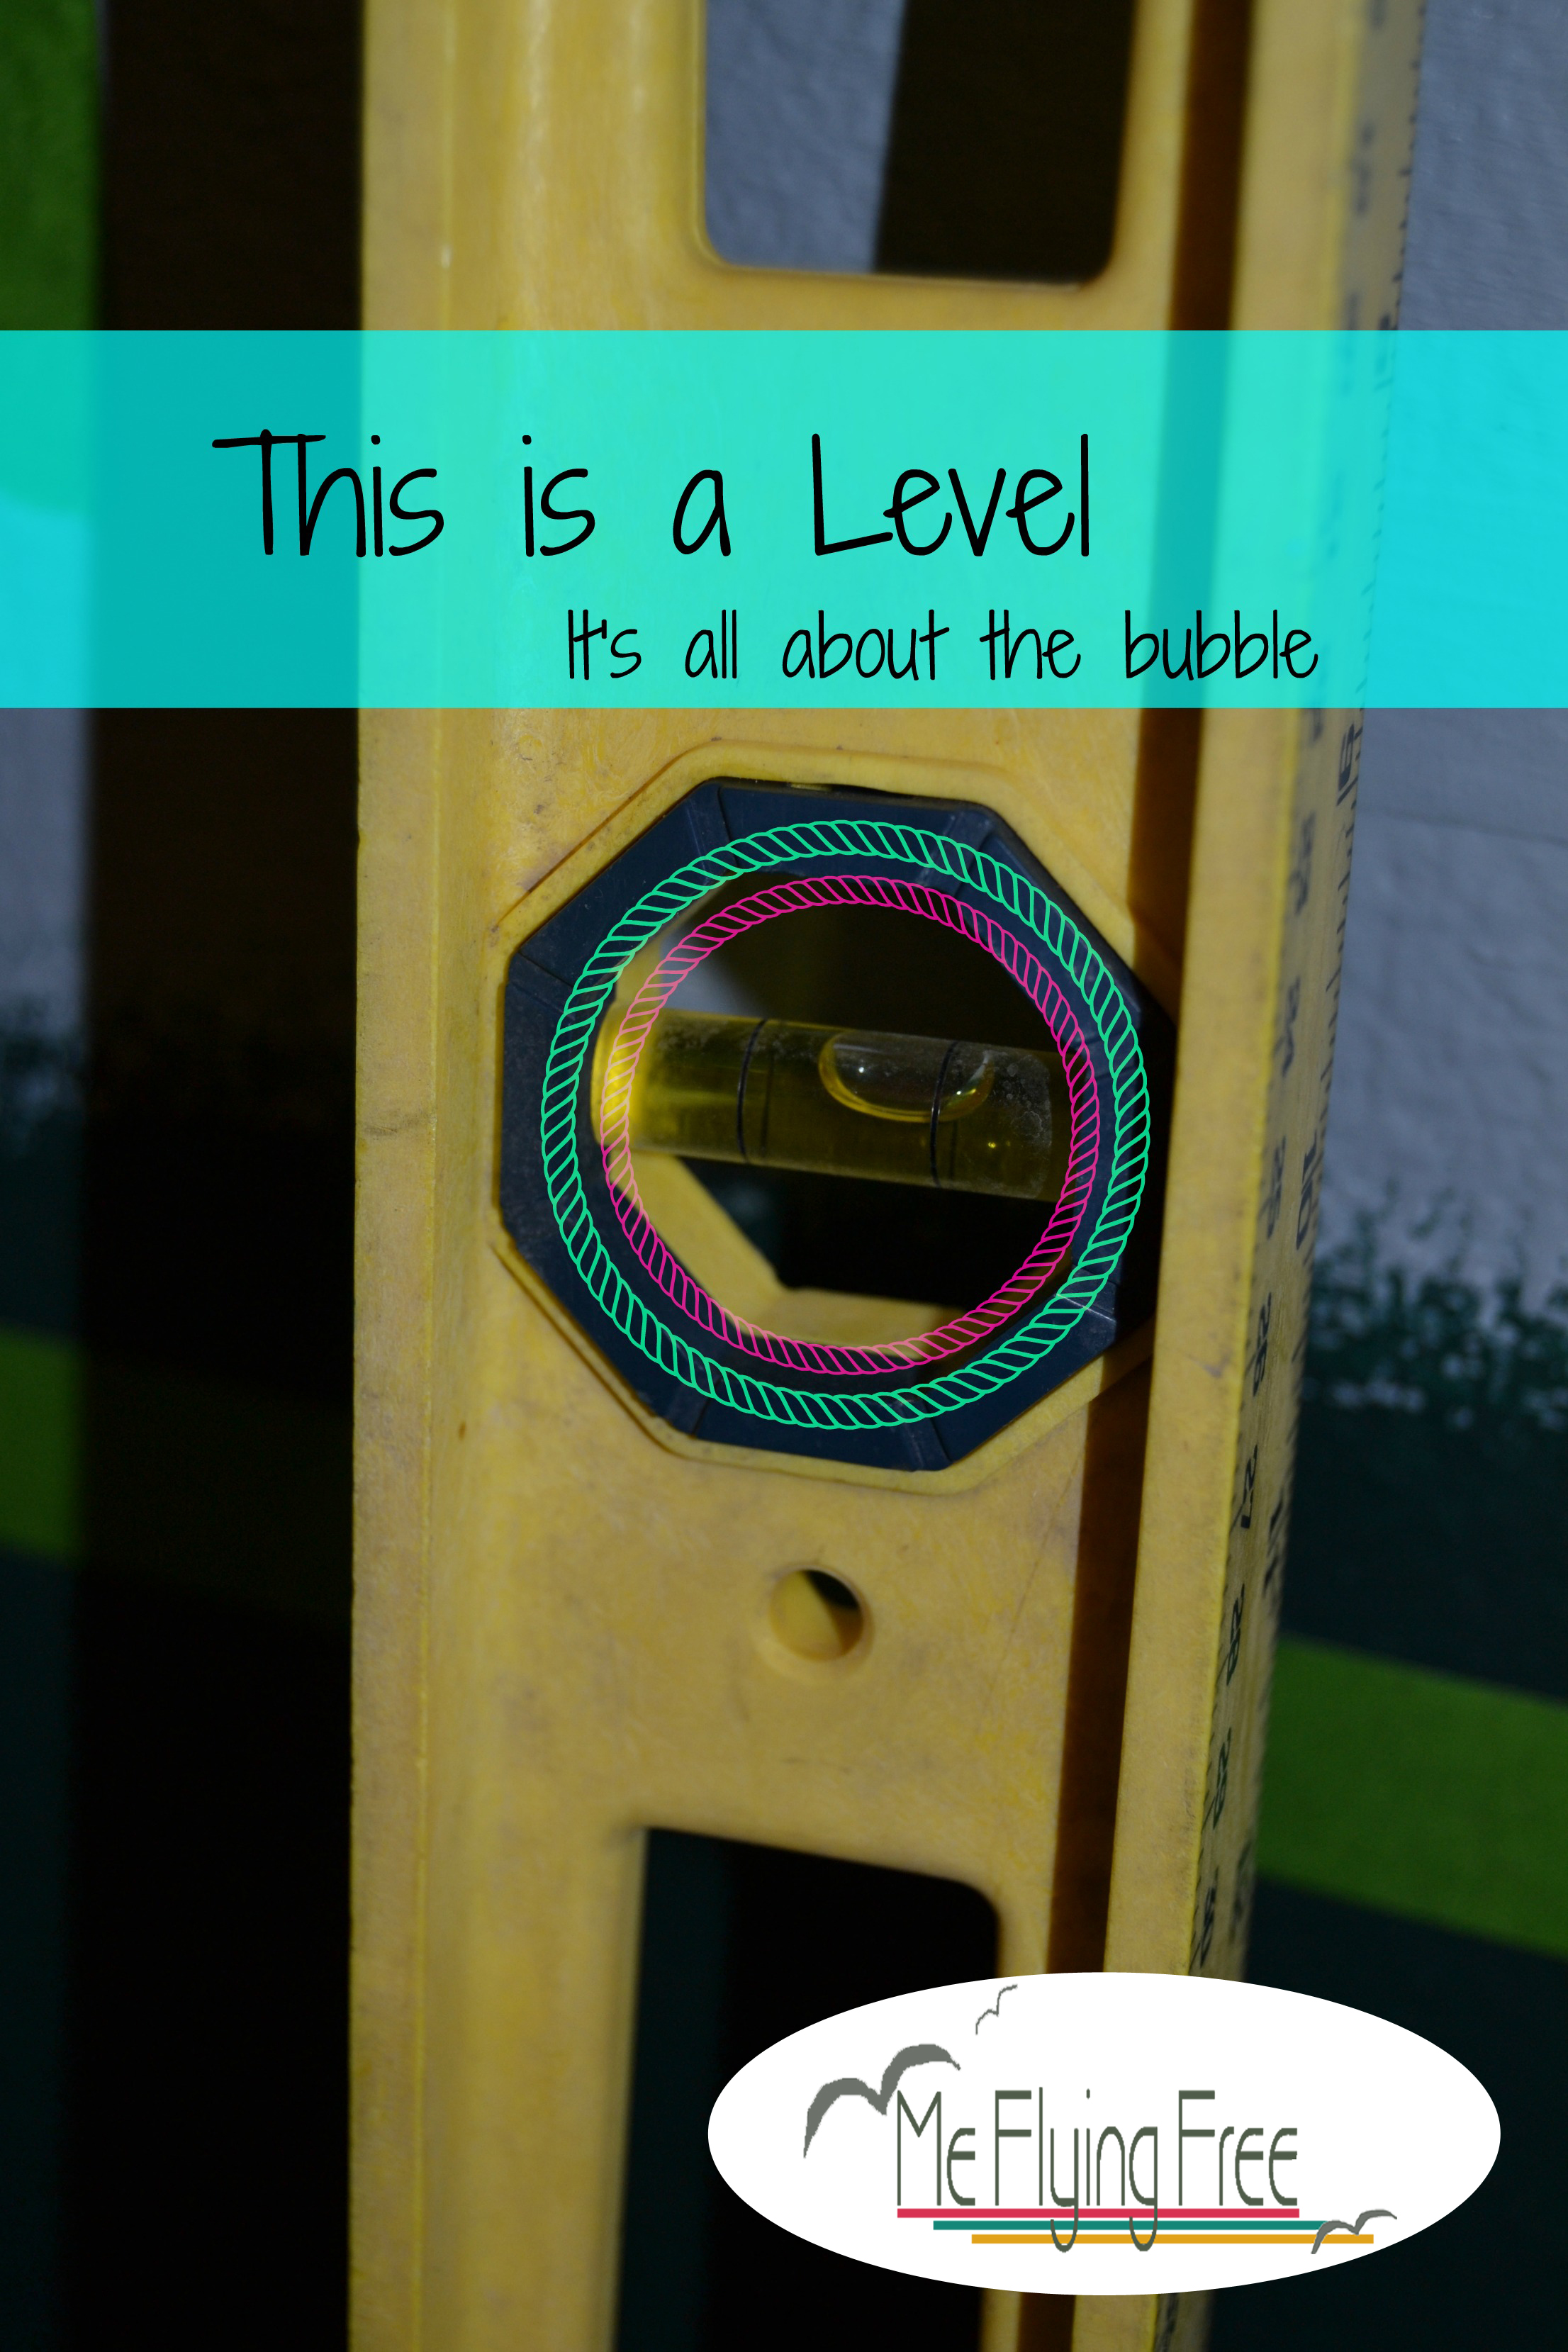
Line up the edge of your level to your mark on the baseline. Make sure the bubble is in the center. Keep your tape against the edge of the level all of the way up the wall.
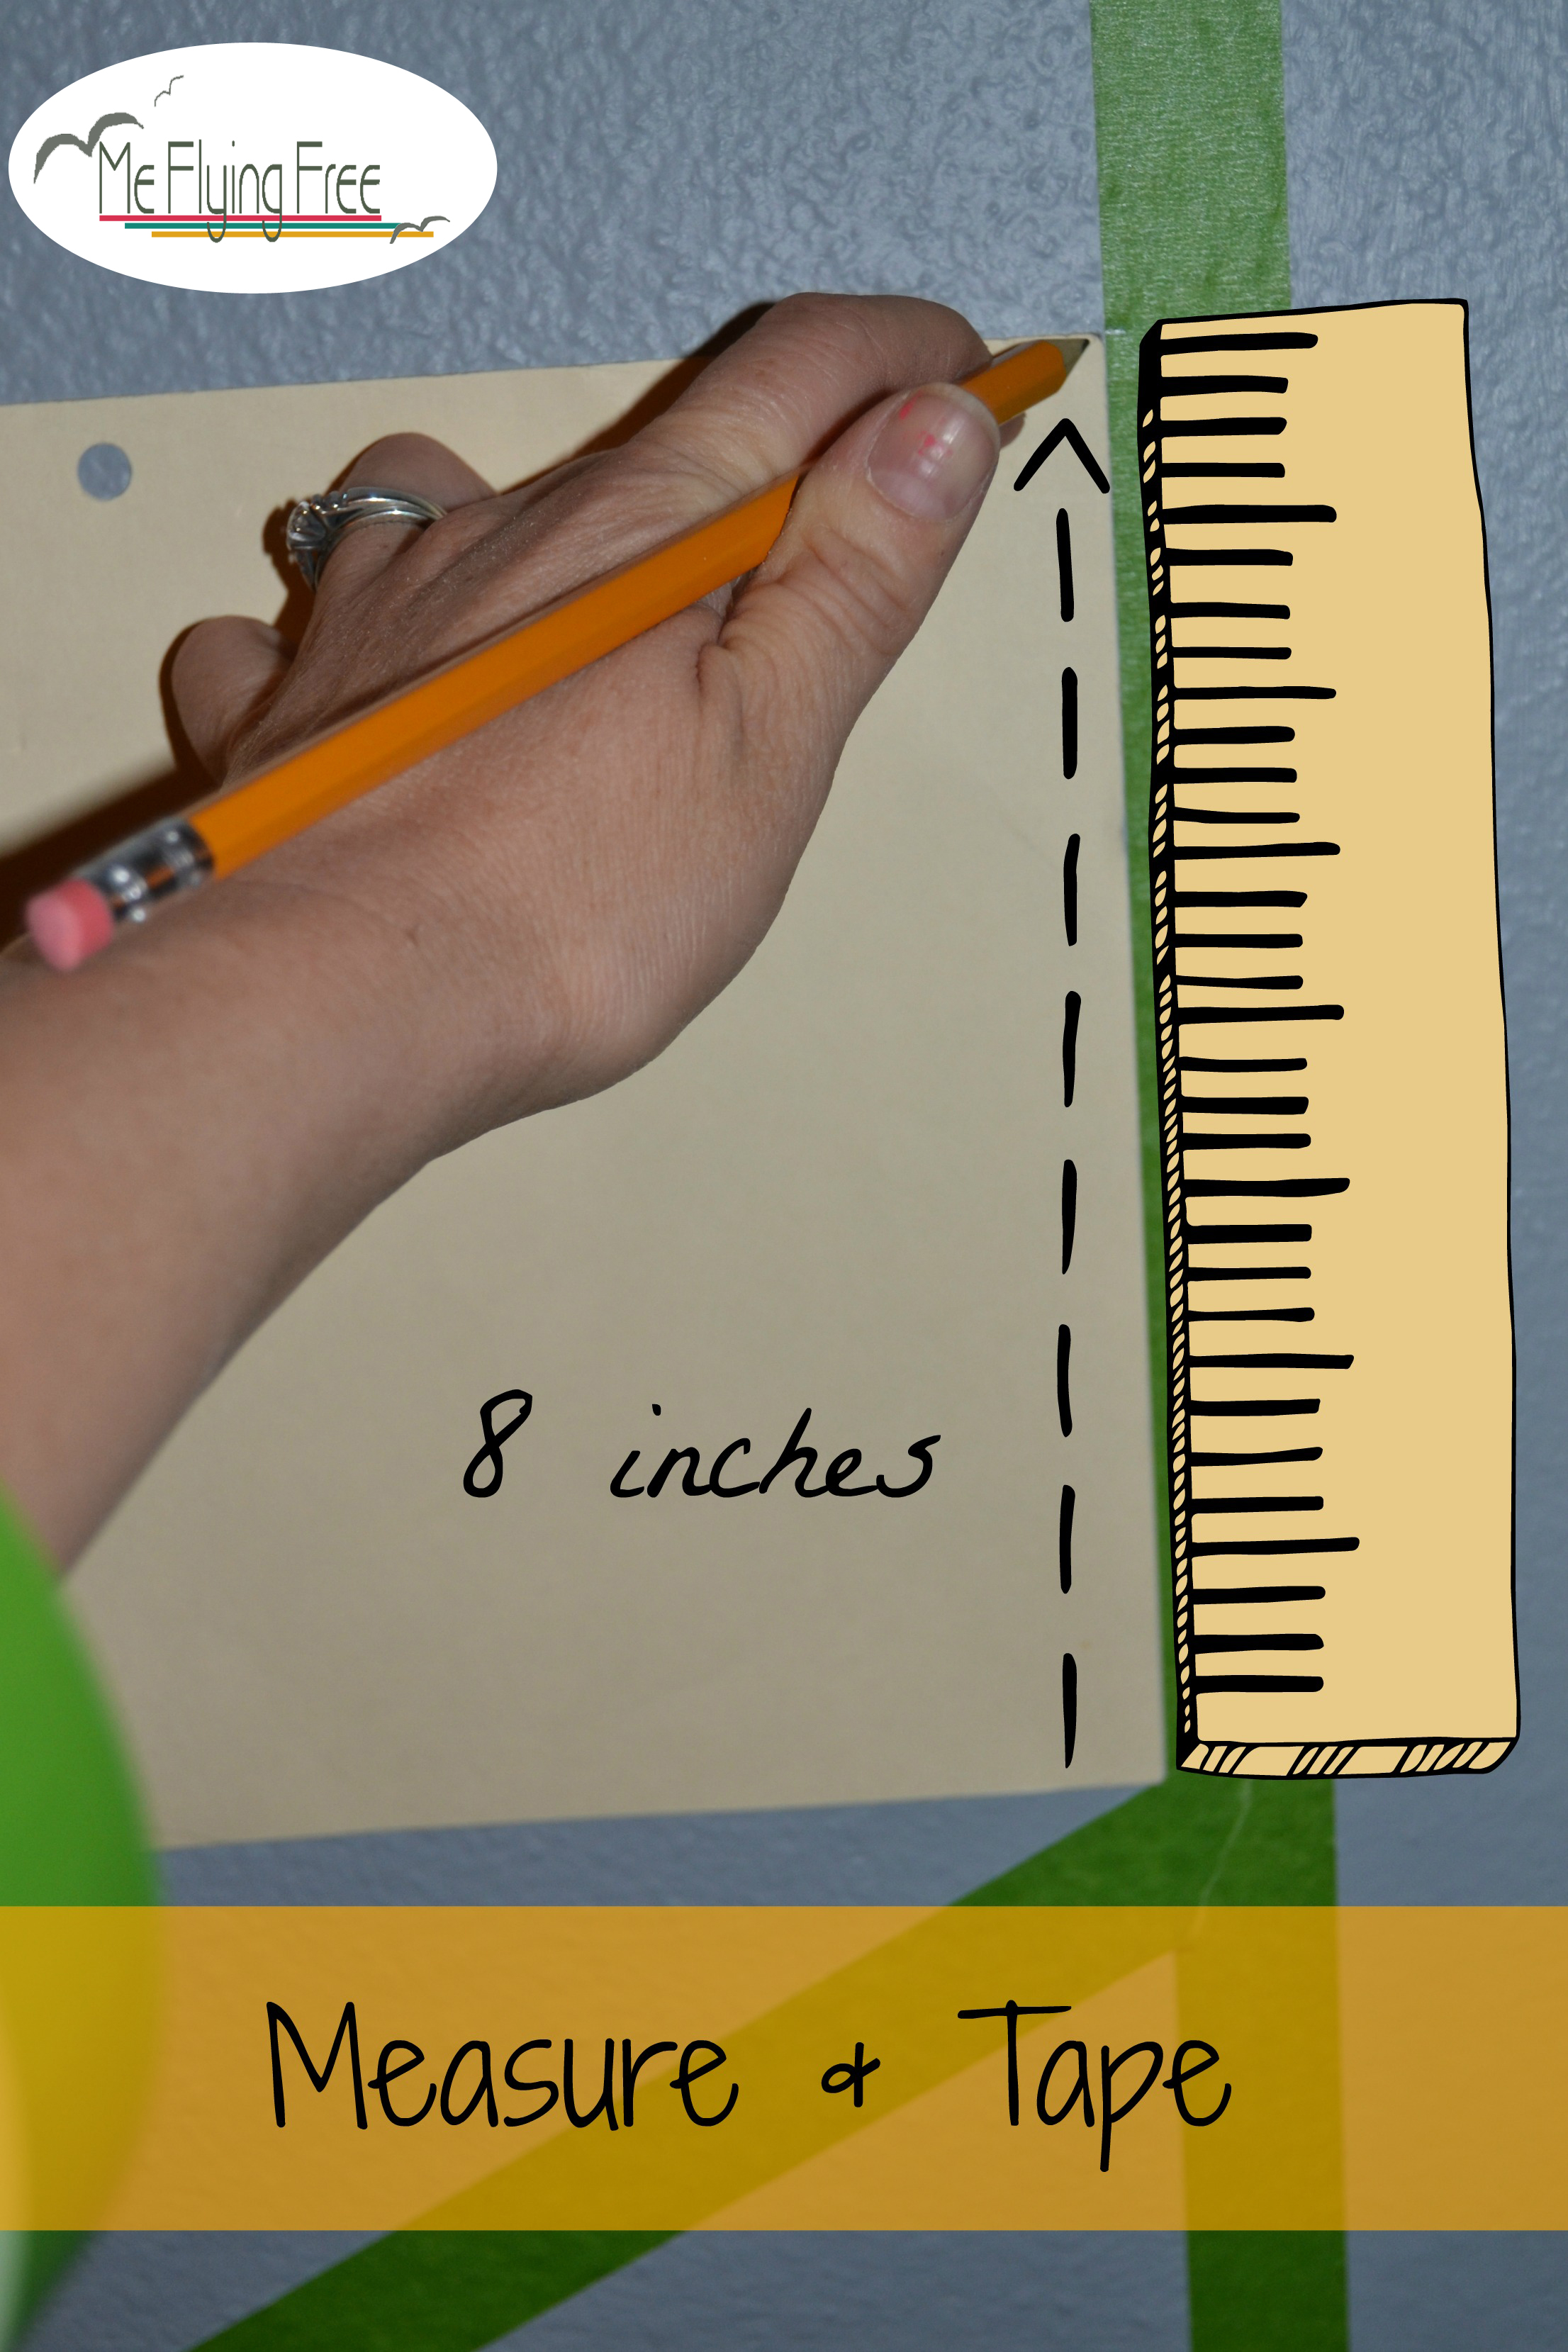
Step 5: Tape off the Diagonals.
Cut a piece of card stock or a piece of a file folder to 8 inches (you can use skinnier if you want smaller sections).
Measure up 8 inches. Pull your tape down to the baseline to create a triangle shape. Measure from the top of the tape you just put on and this will be the bottom of your next tape line.
Some of the time I just lined the bottom of my card stock up with the bottom of the tapeline and drew the diagonal for where the bottom of the next tape line would be.
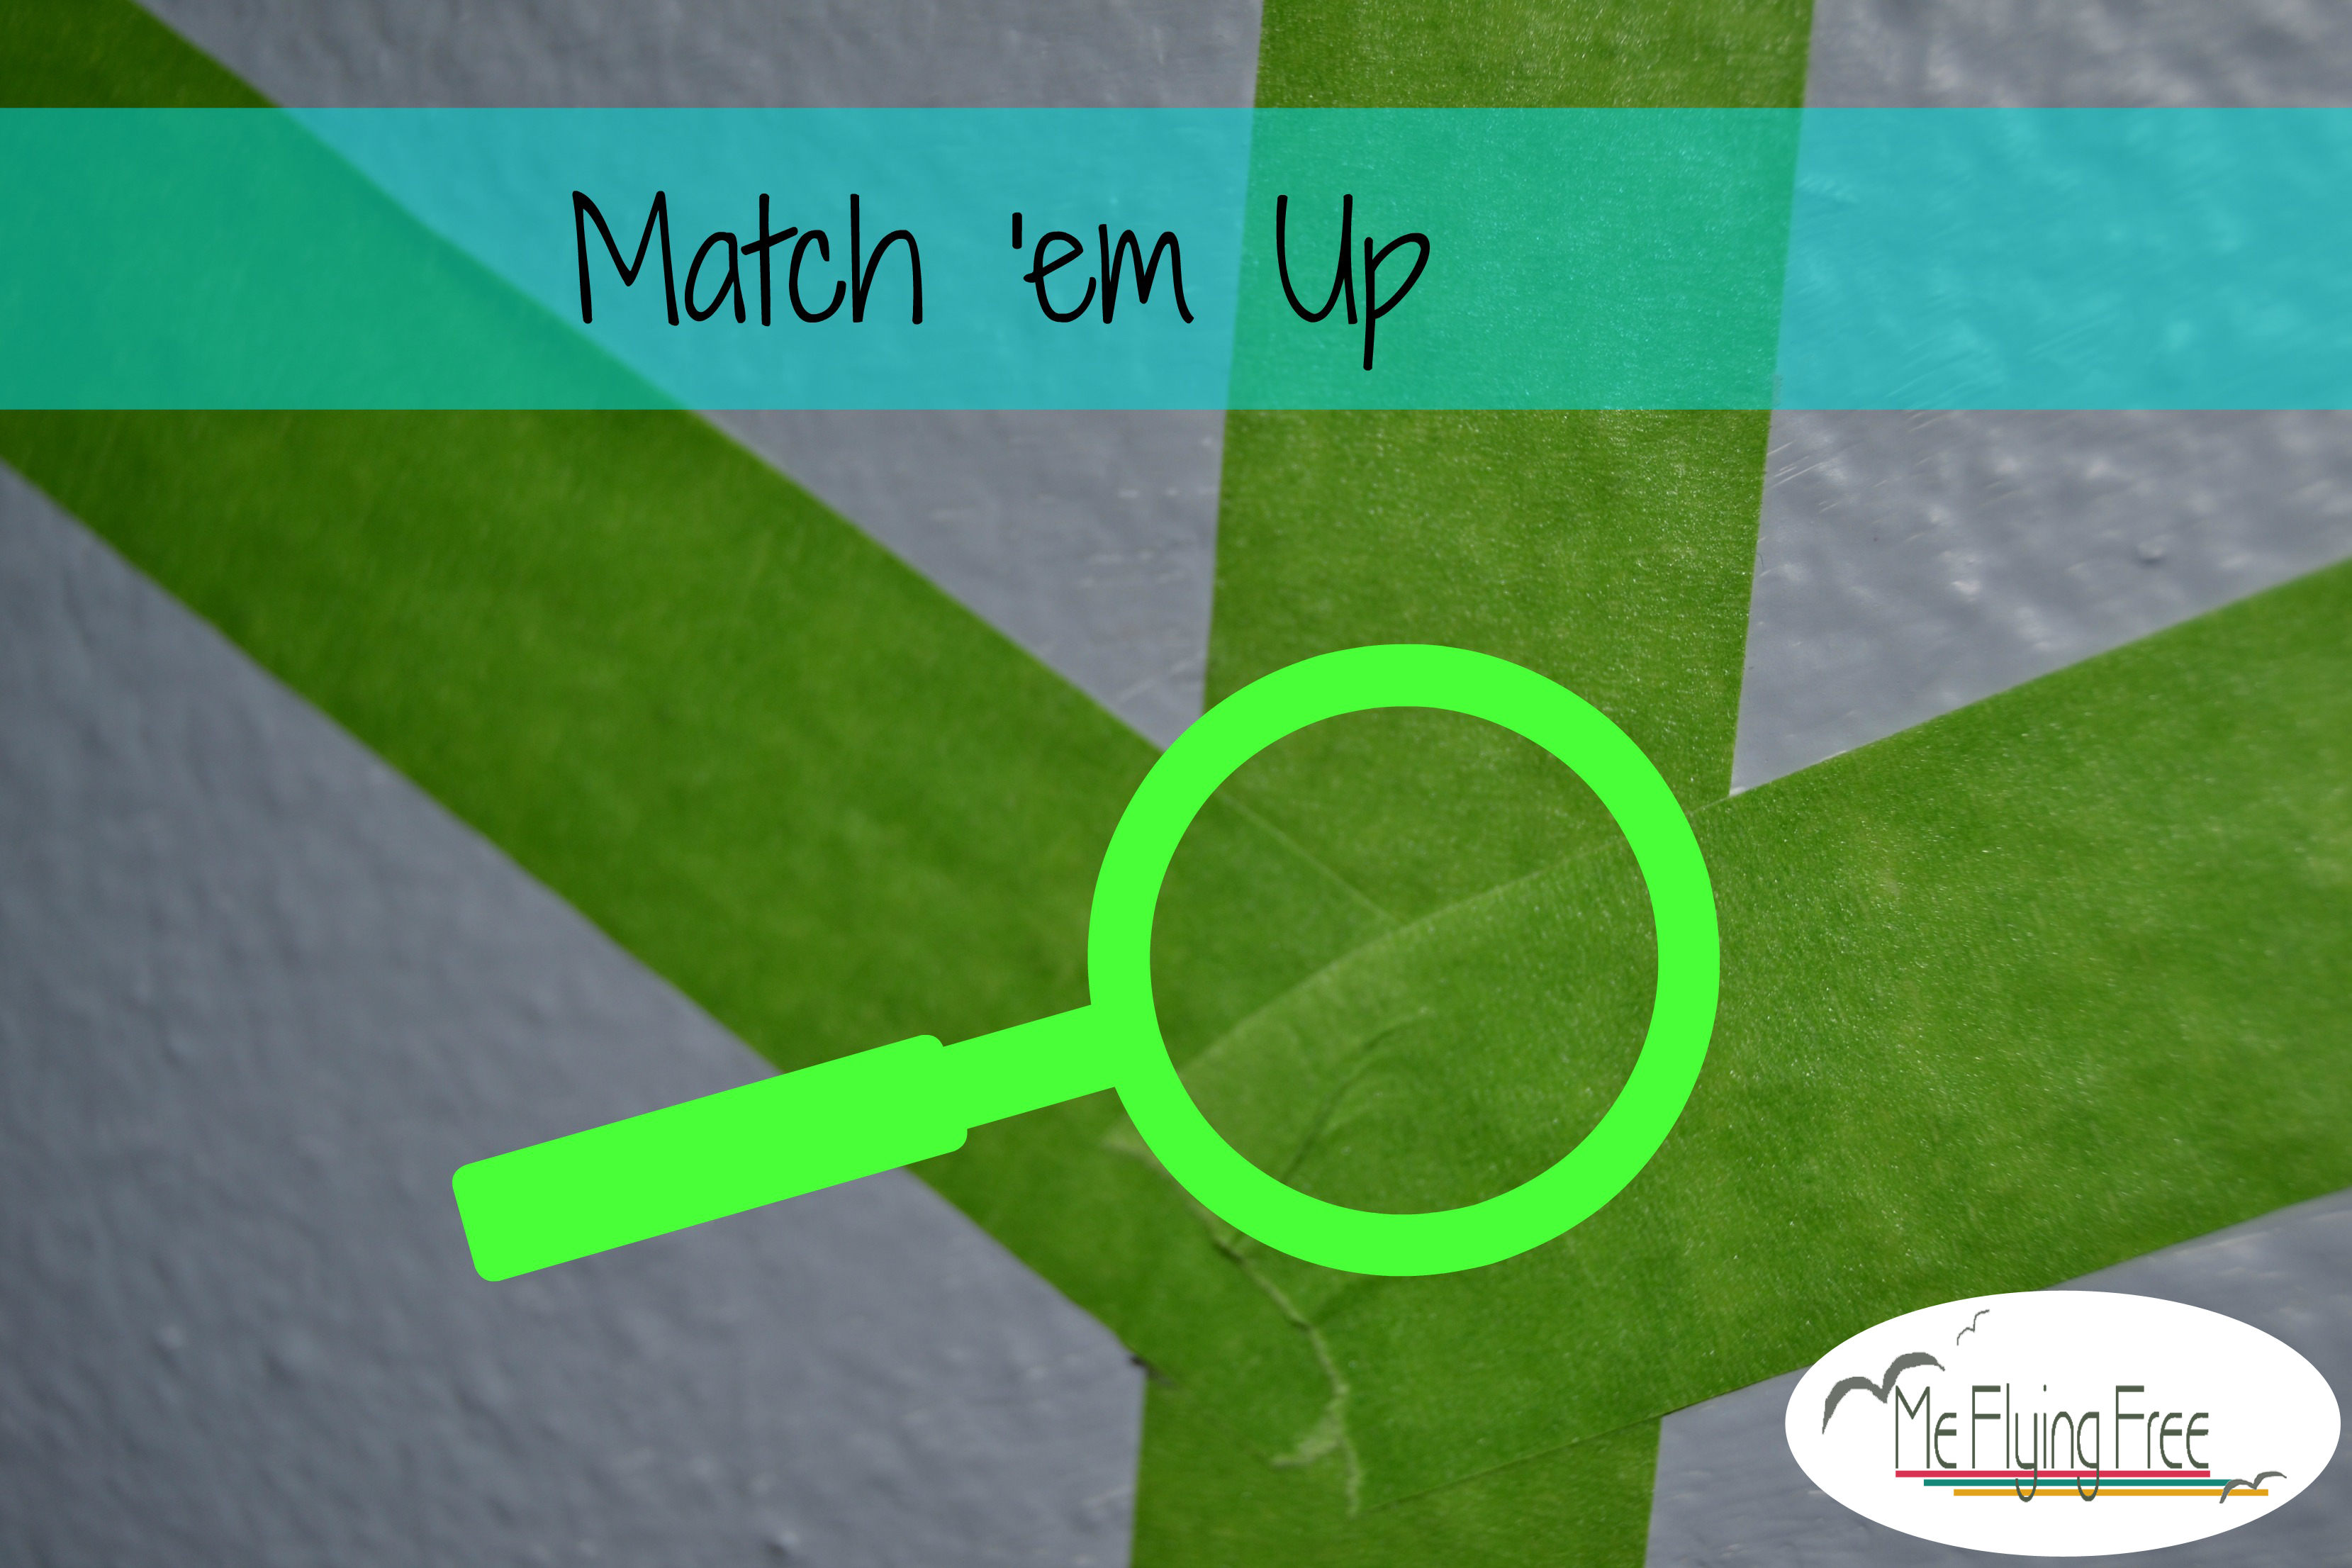
Sometimes it is best to eyeball it a bit. The tape lines need to match up. The V the tape creates should be in the center of the tape it is on top of.
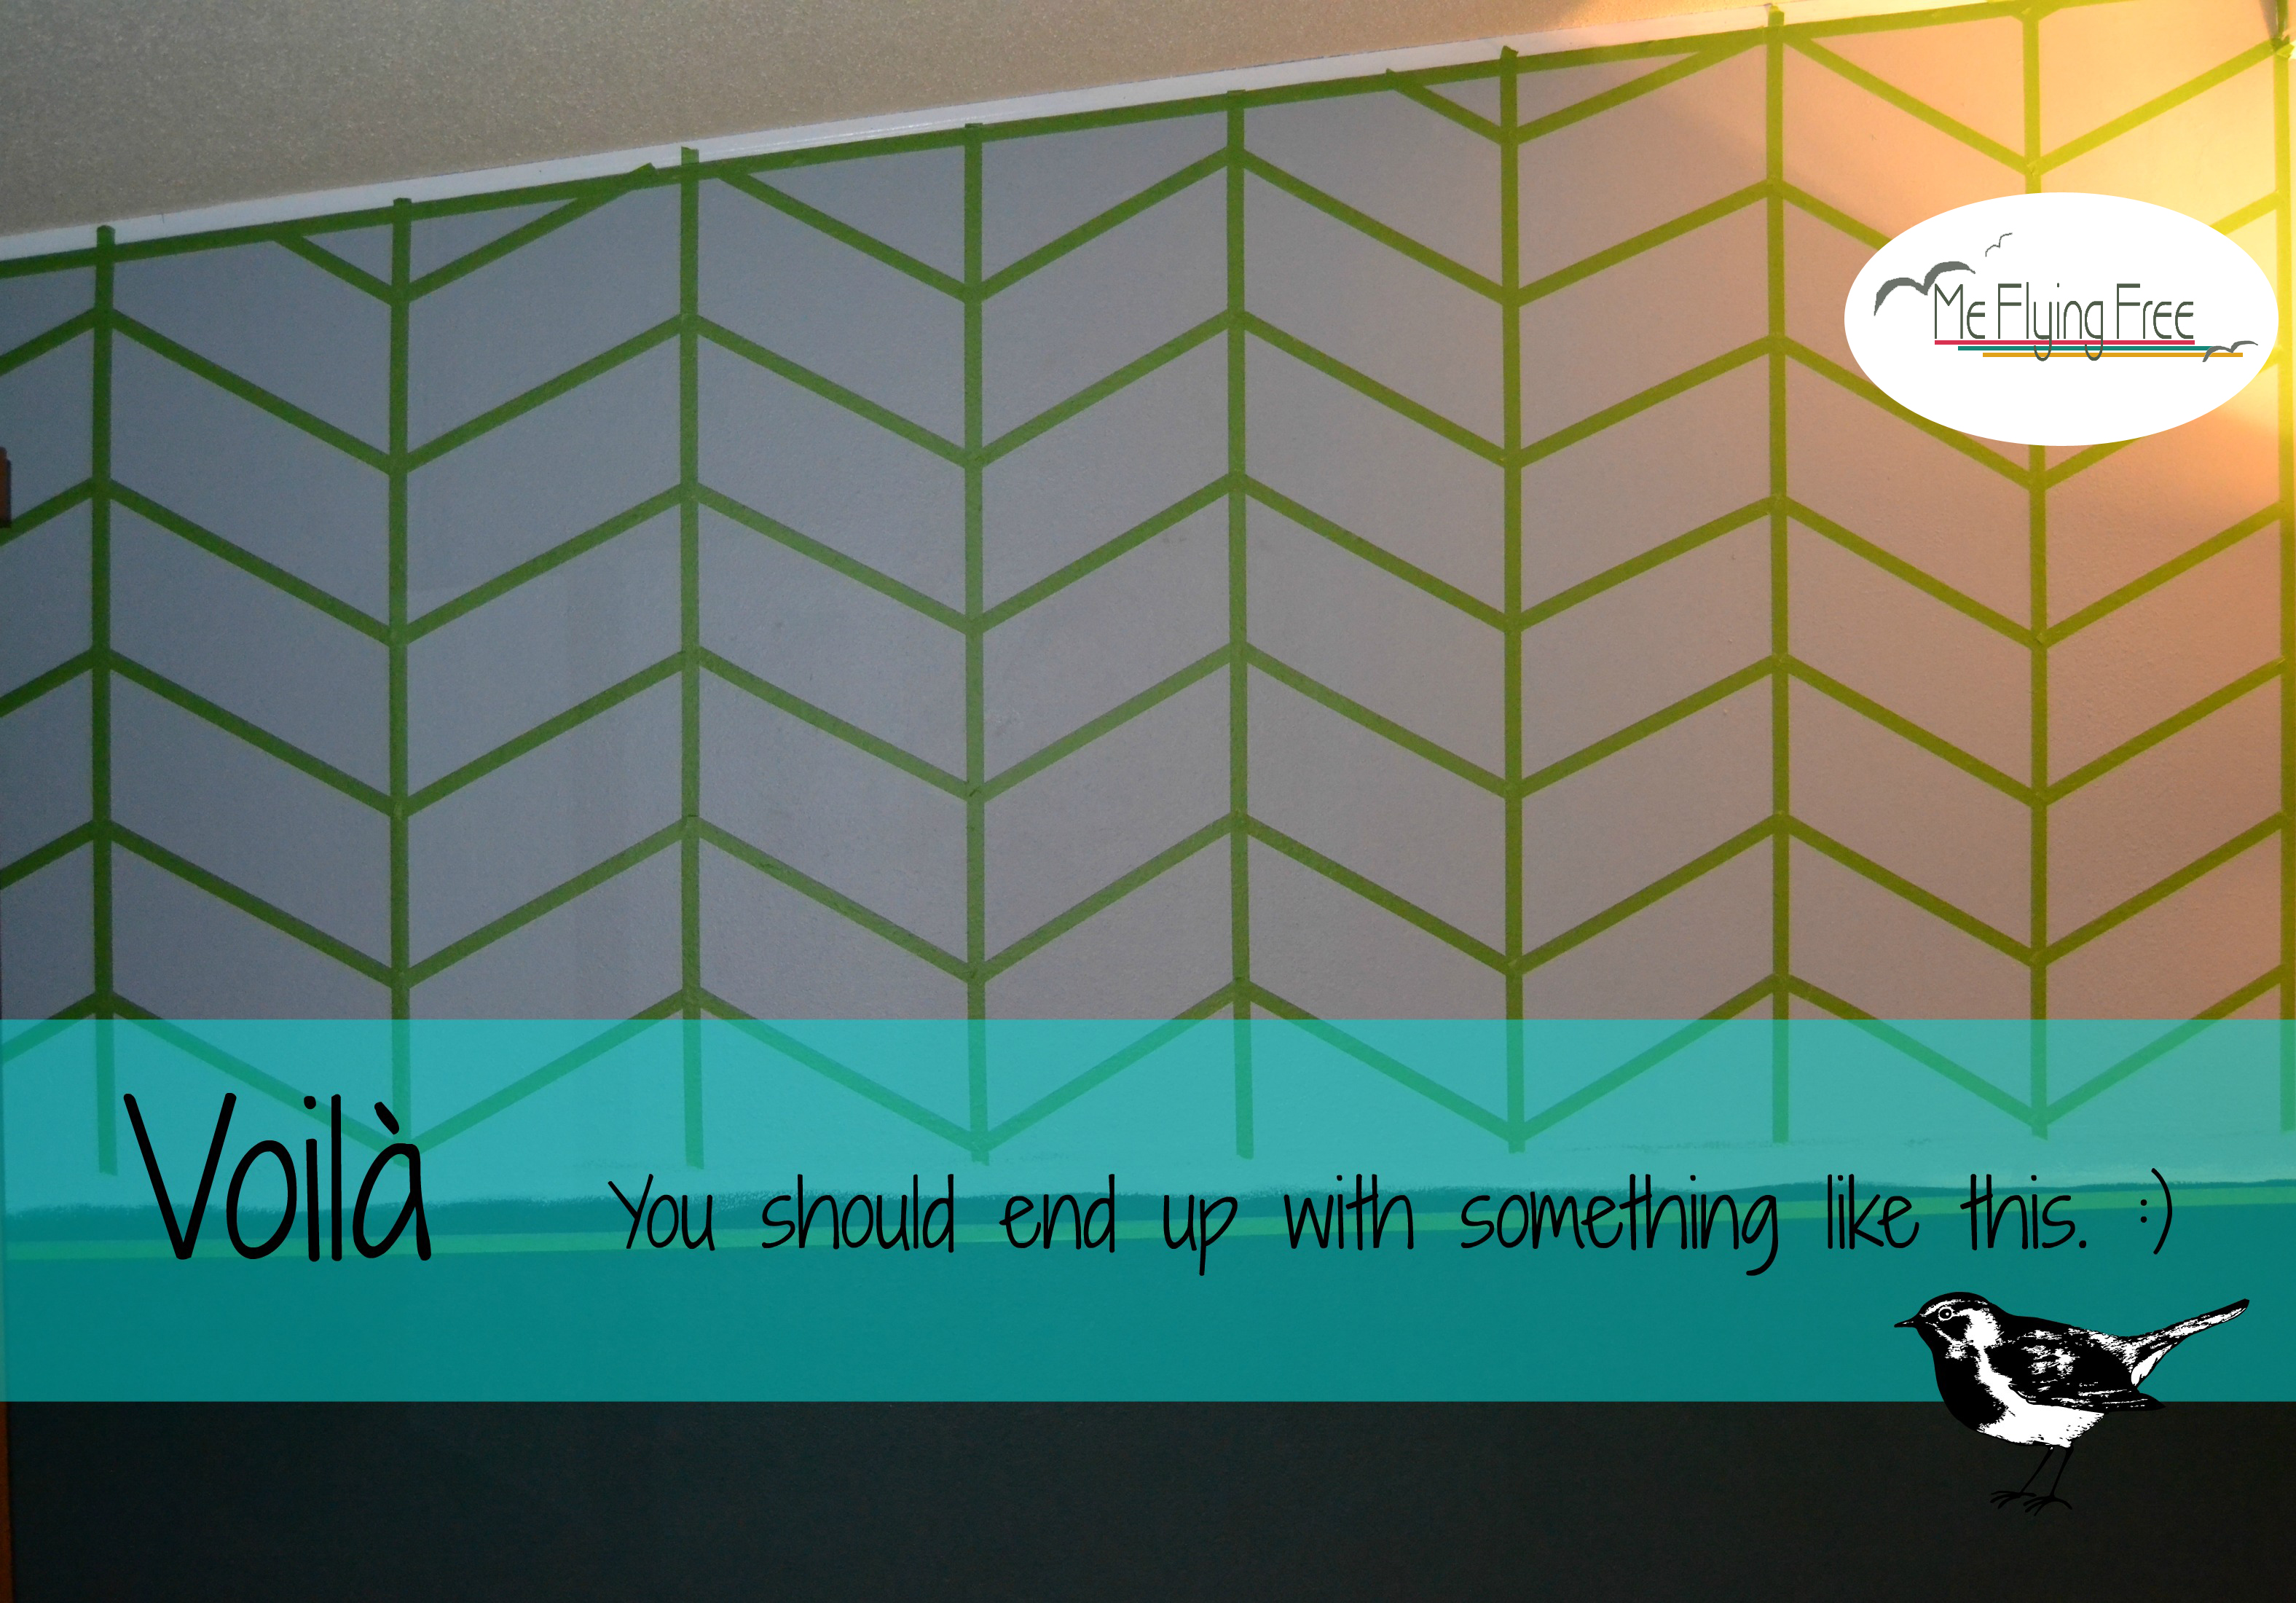
Step 6: Make sure everything looks good.
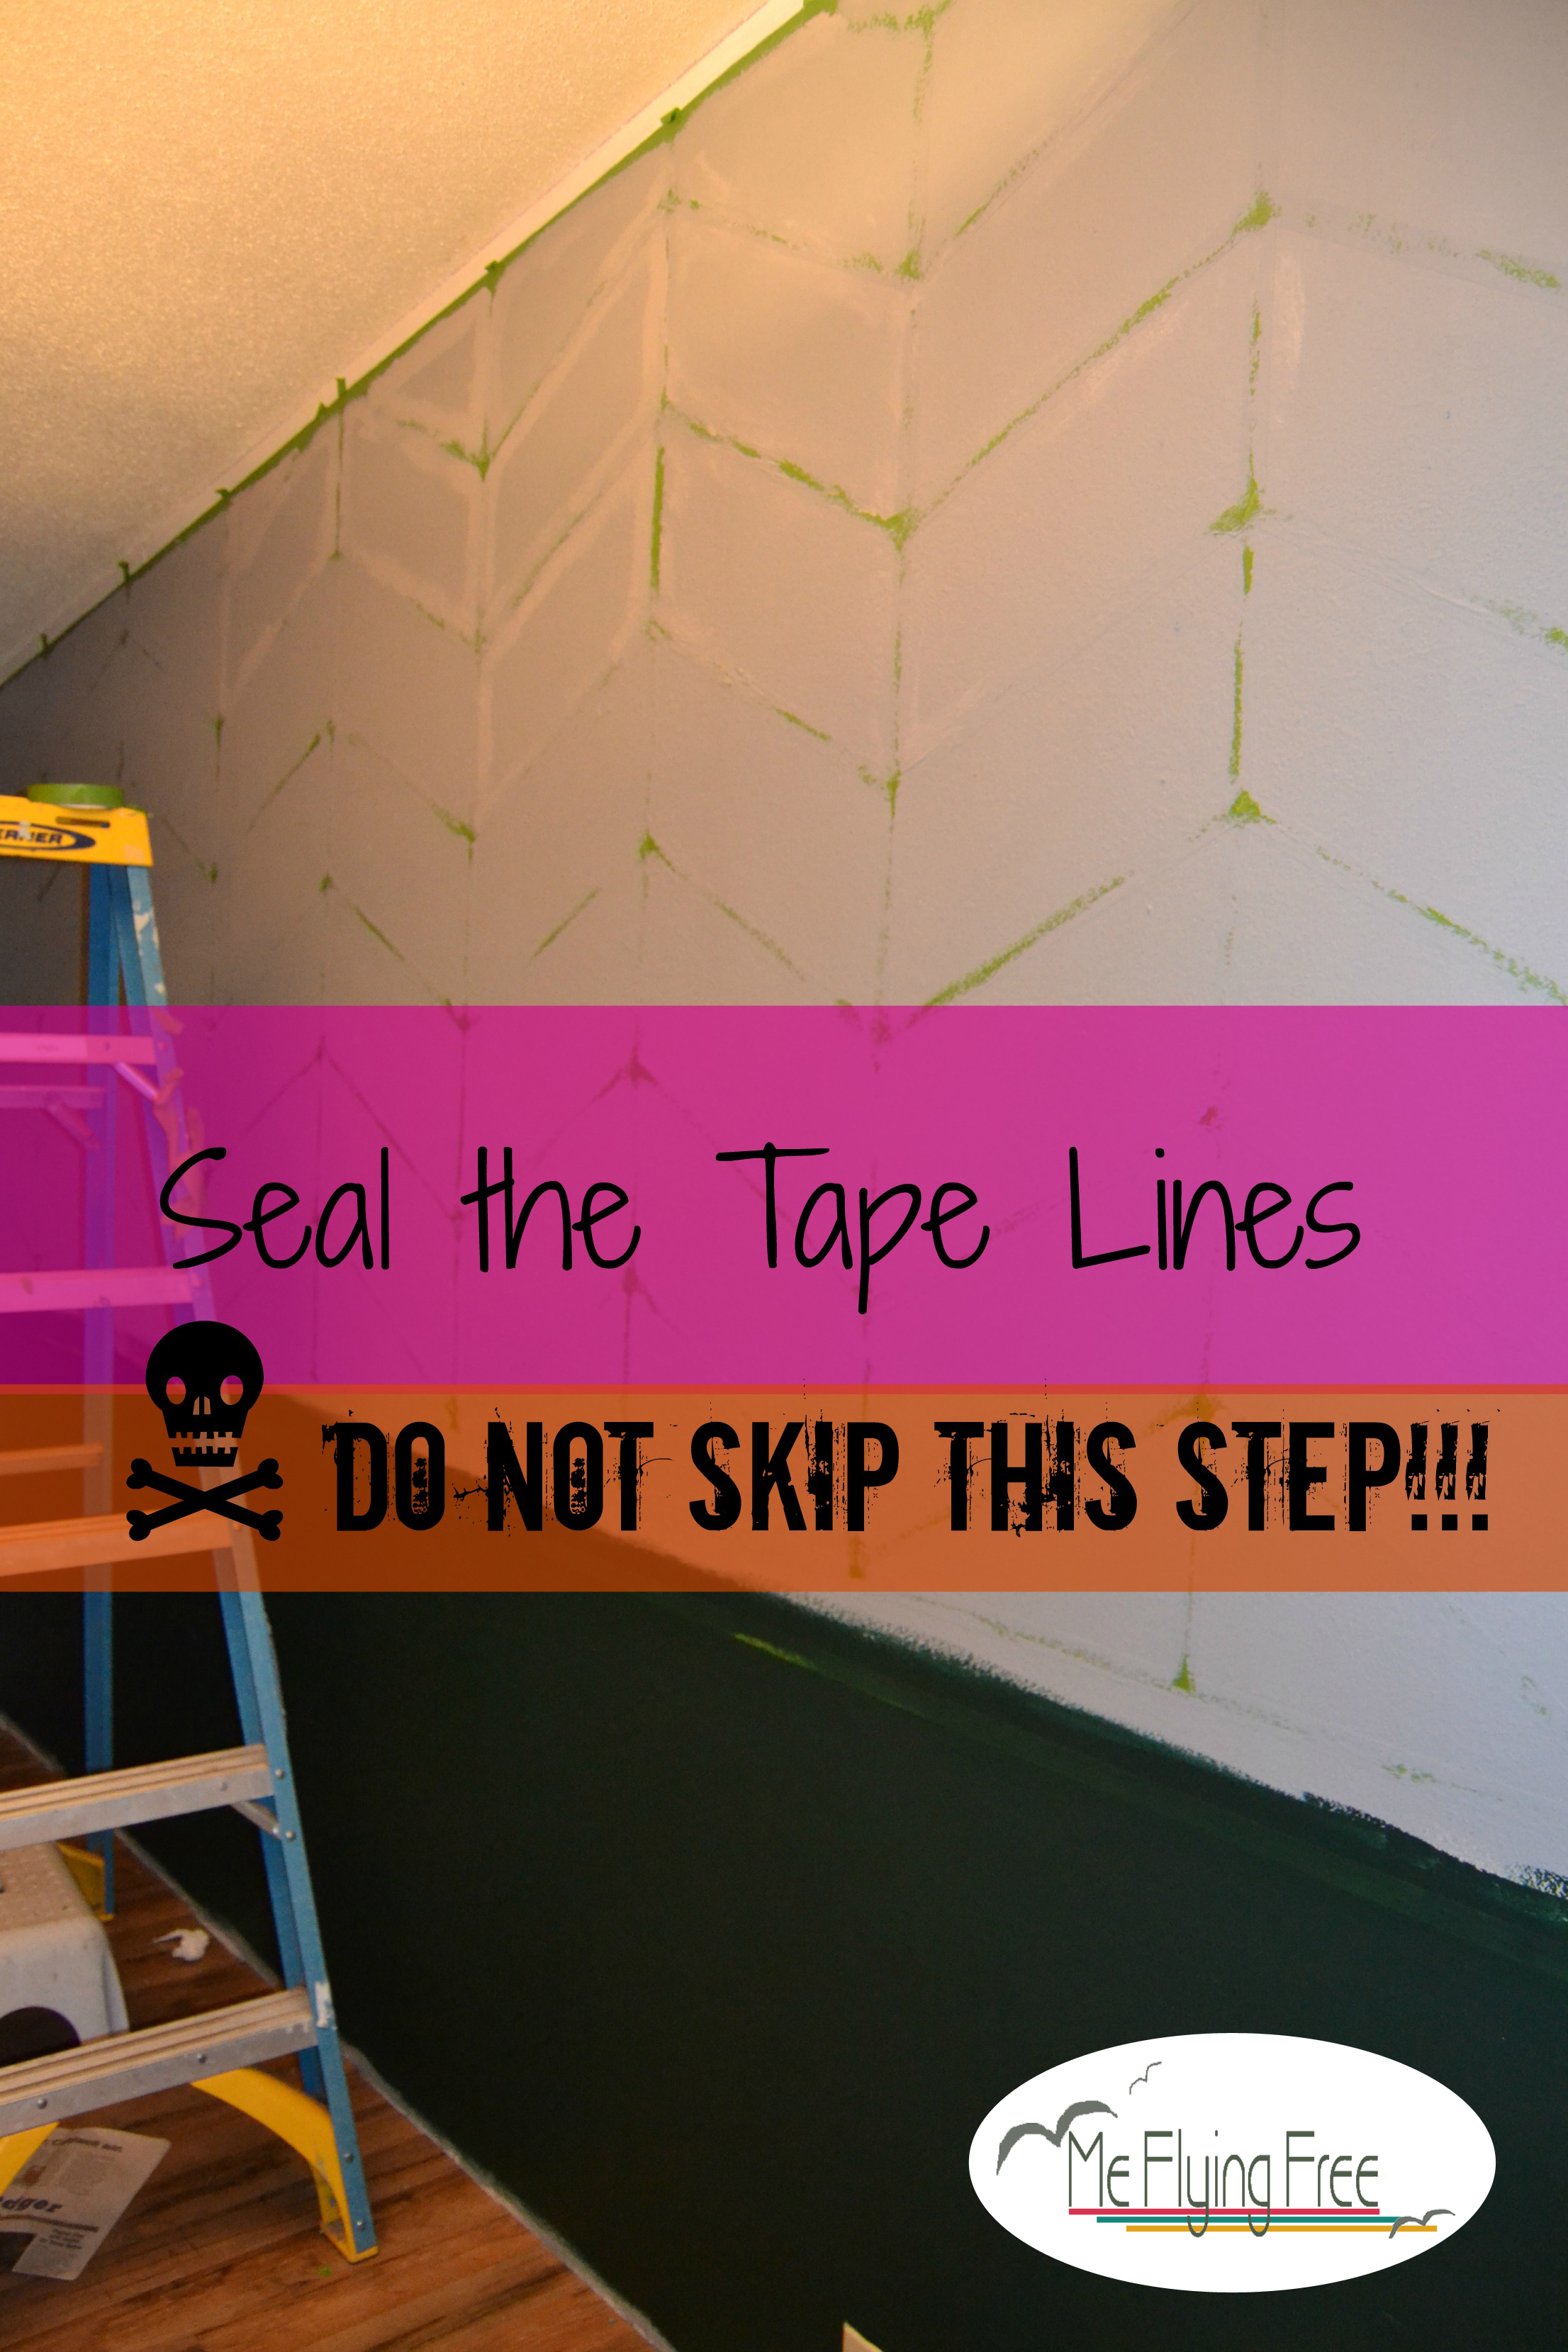
Step 7. Seal the Paint Lines.
This step is ESSENTIAL. Don’t just skip it thinking that I am just being anal and that it will all just work out. I guarantee you, IT WON’T!!! I have been there. Please take my advice. Paint over all of the lines with the paint that is already on the wall. It is almost painful to paint over all of those beautiful tape lines you just put up, but if you want them to come out crisp and clean, DO IT!!!
You can use a roller and just do the whole wall that way. I used a brush and went along all of the edges. This way is a little nicer later on when you are rolling on the colors because you can still see the divisions between the sections.
Wait for it to dry well before moving on.
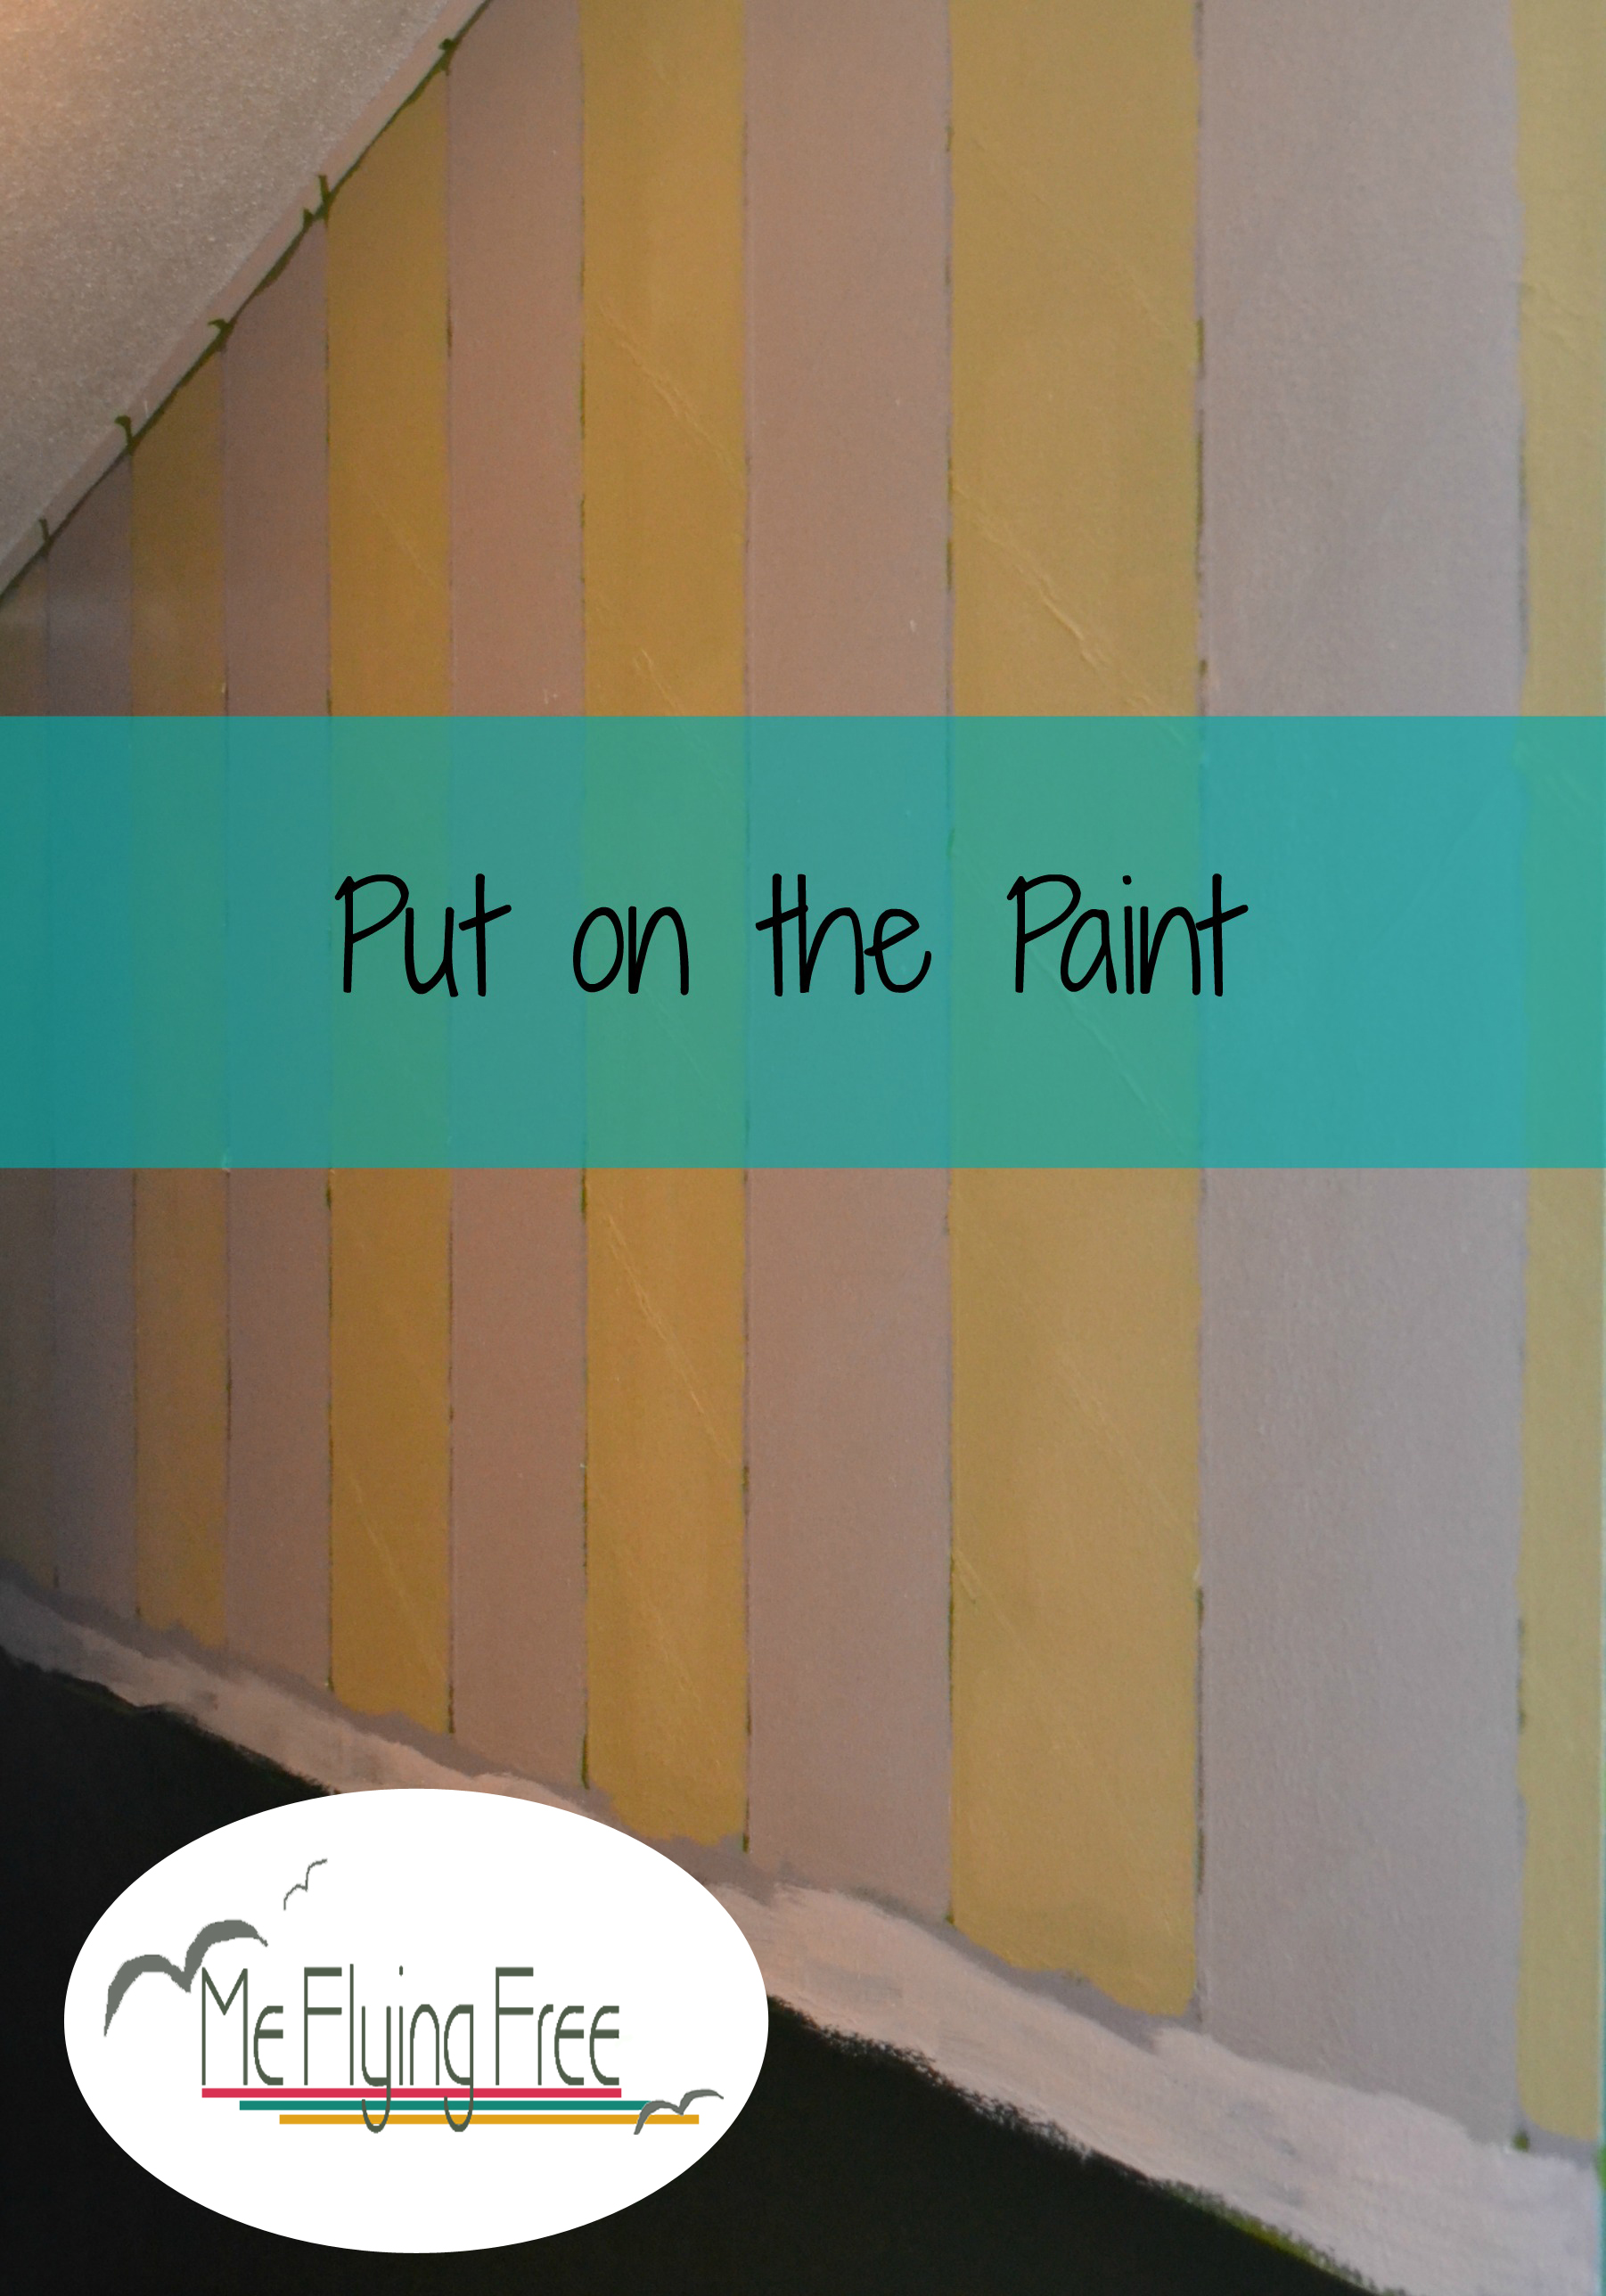
Step 8: Paint your colors on.
You can do all of the sections the same color, you can add in colors on random sections… It is totally up to you. I did two alternating colors as you can see. Stay in the lines!
I also painted my faux chair rail at this point with primer and then paint.
Let paint dry.
You may want to just double and triple check it at this point and touch-up any areas that you missed. Then let it all dry (not too long though, you don’t want it to be difficult to pull the tape).
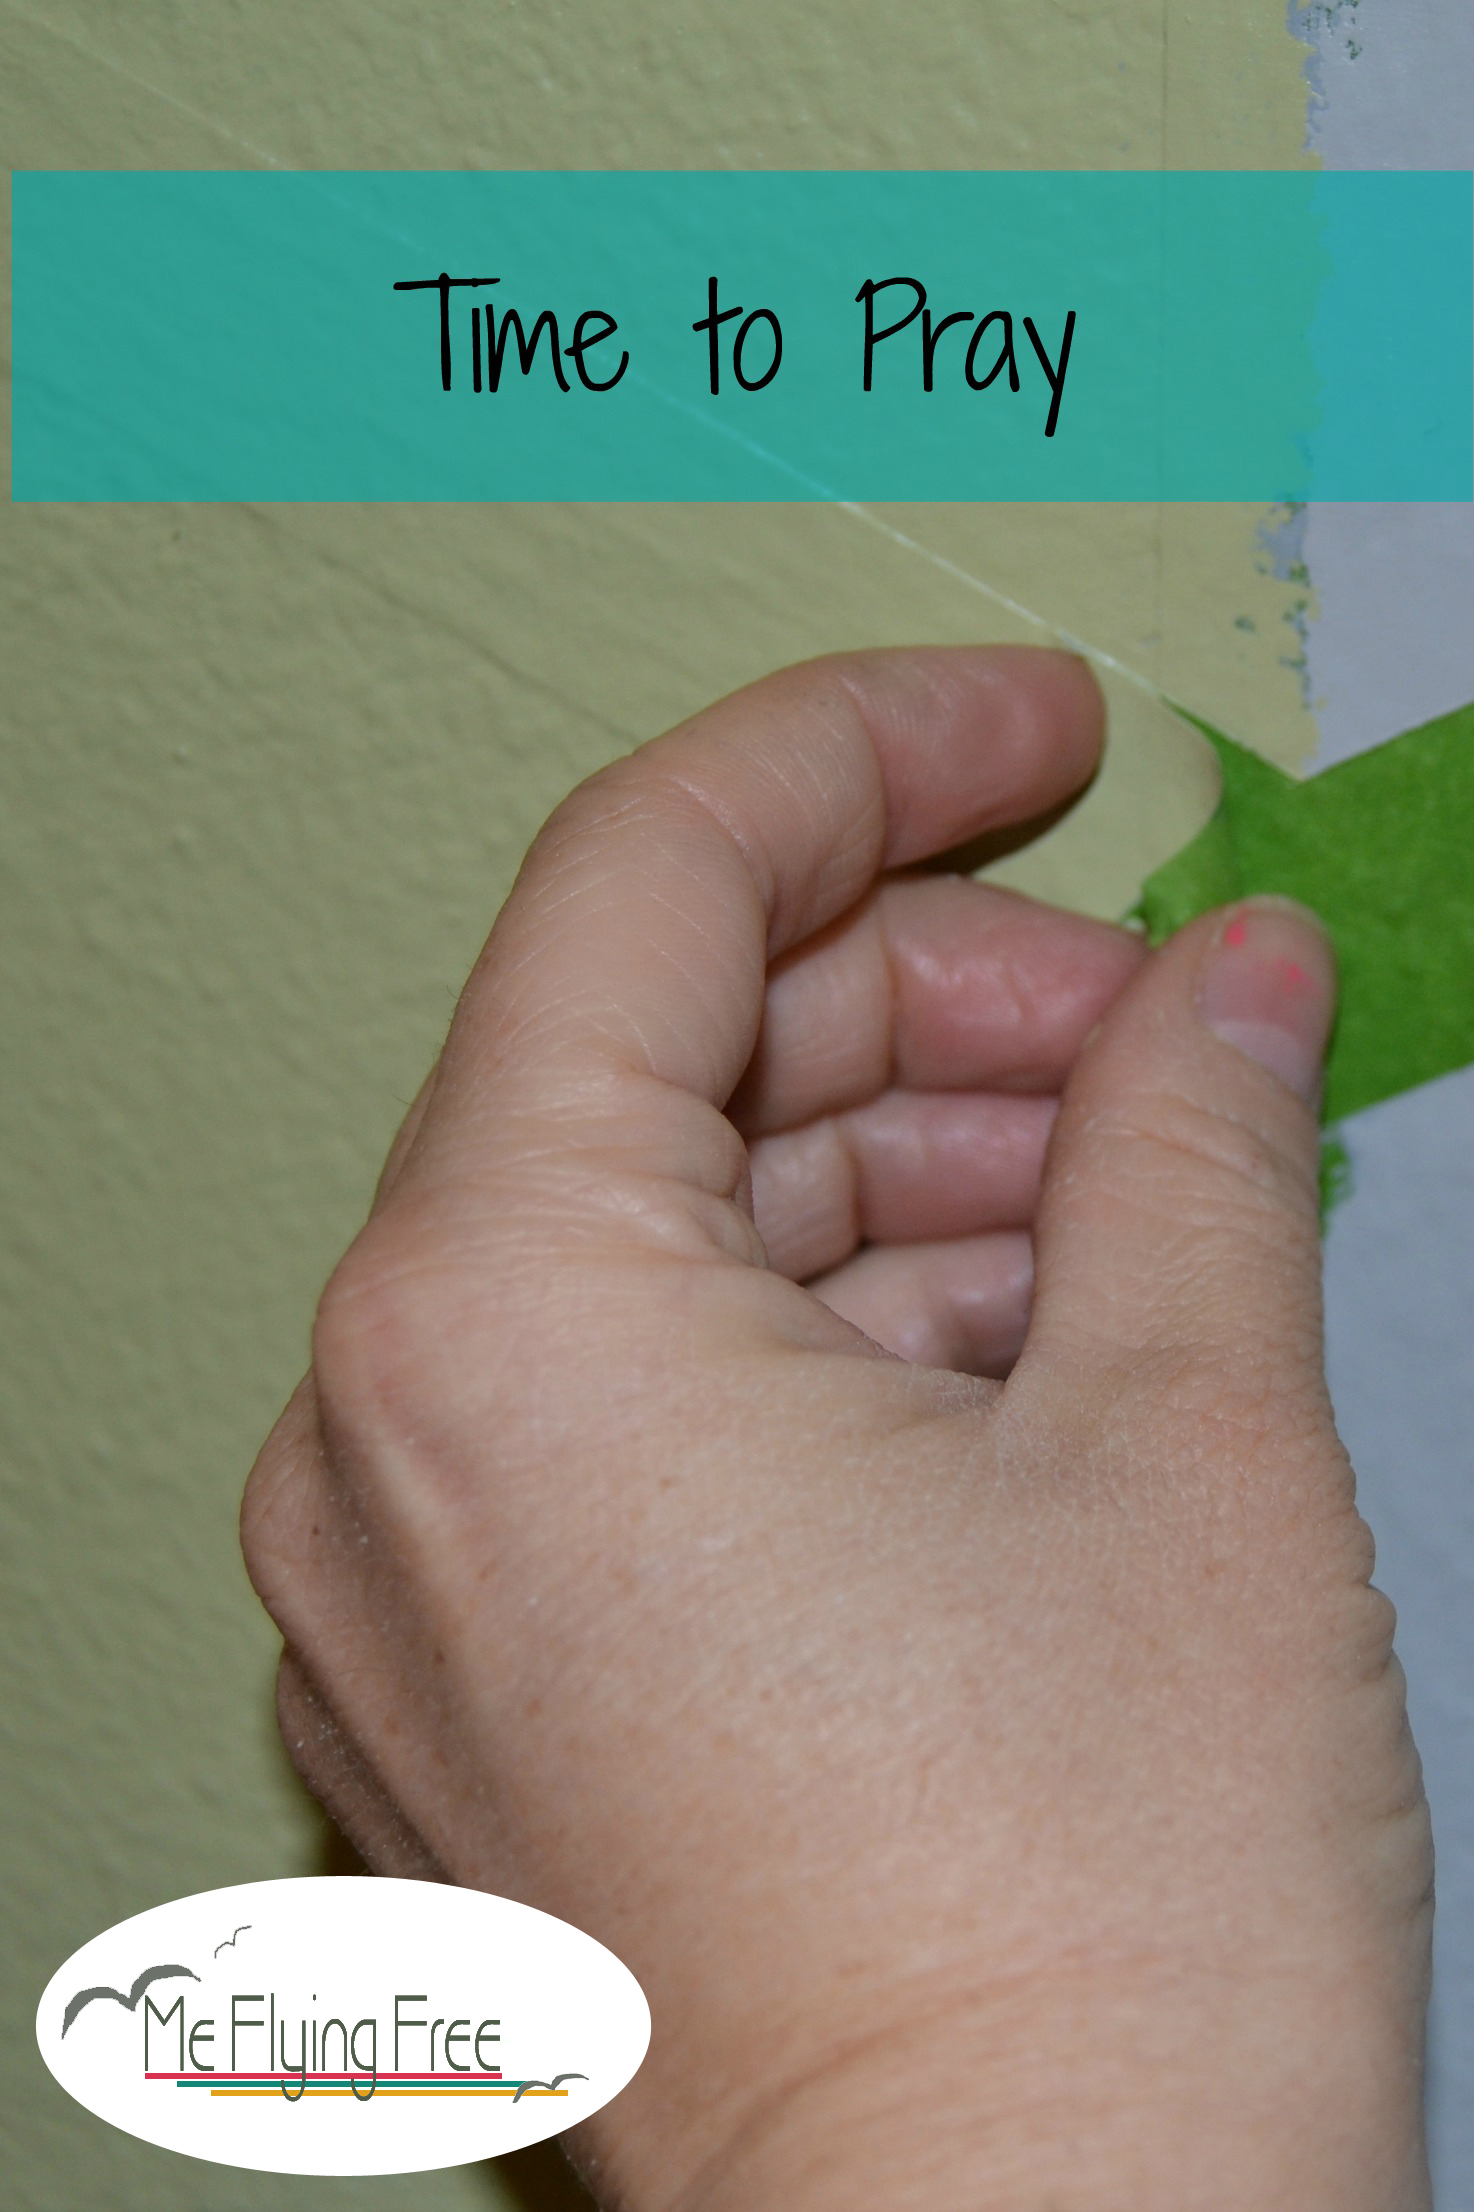
Step 8: Pray that all of your hard work paid off and get ready to peal some tape!
 Step 9: Pealing Party!

The lines came out beautifully. I touched up a few spots, but overall, the lines were crisp. I recommend using a stiff artist’s brush for the touch-ups. You do not want to paint into your sections at this point.
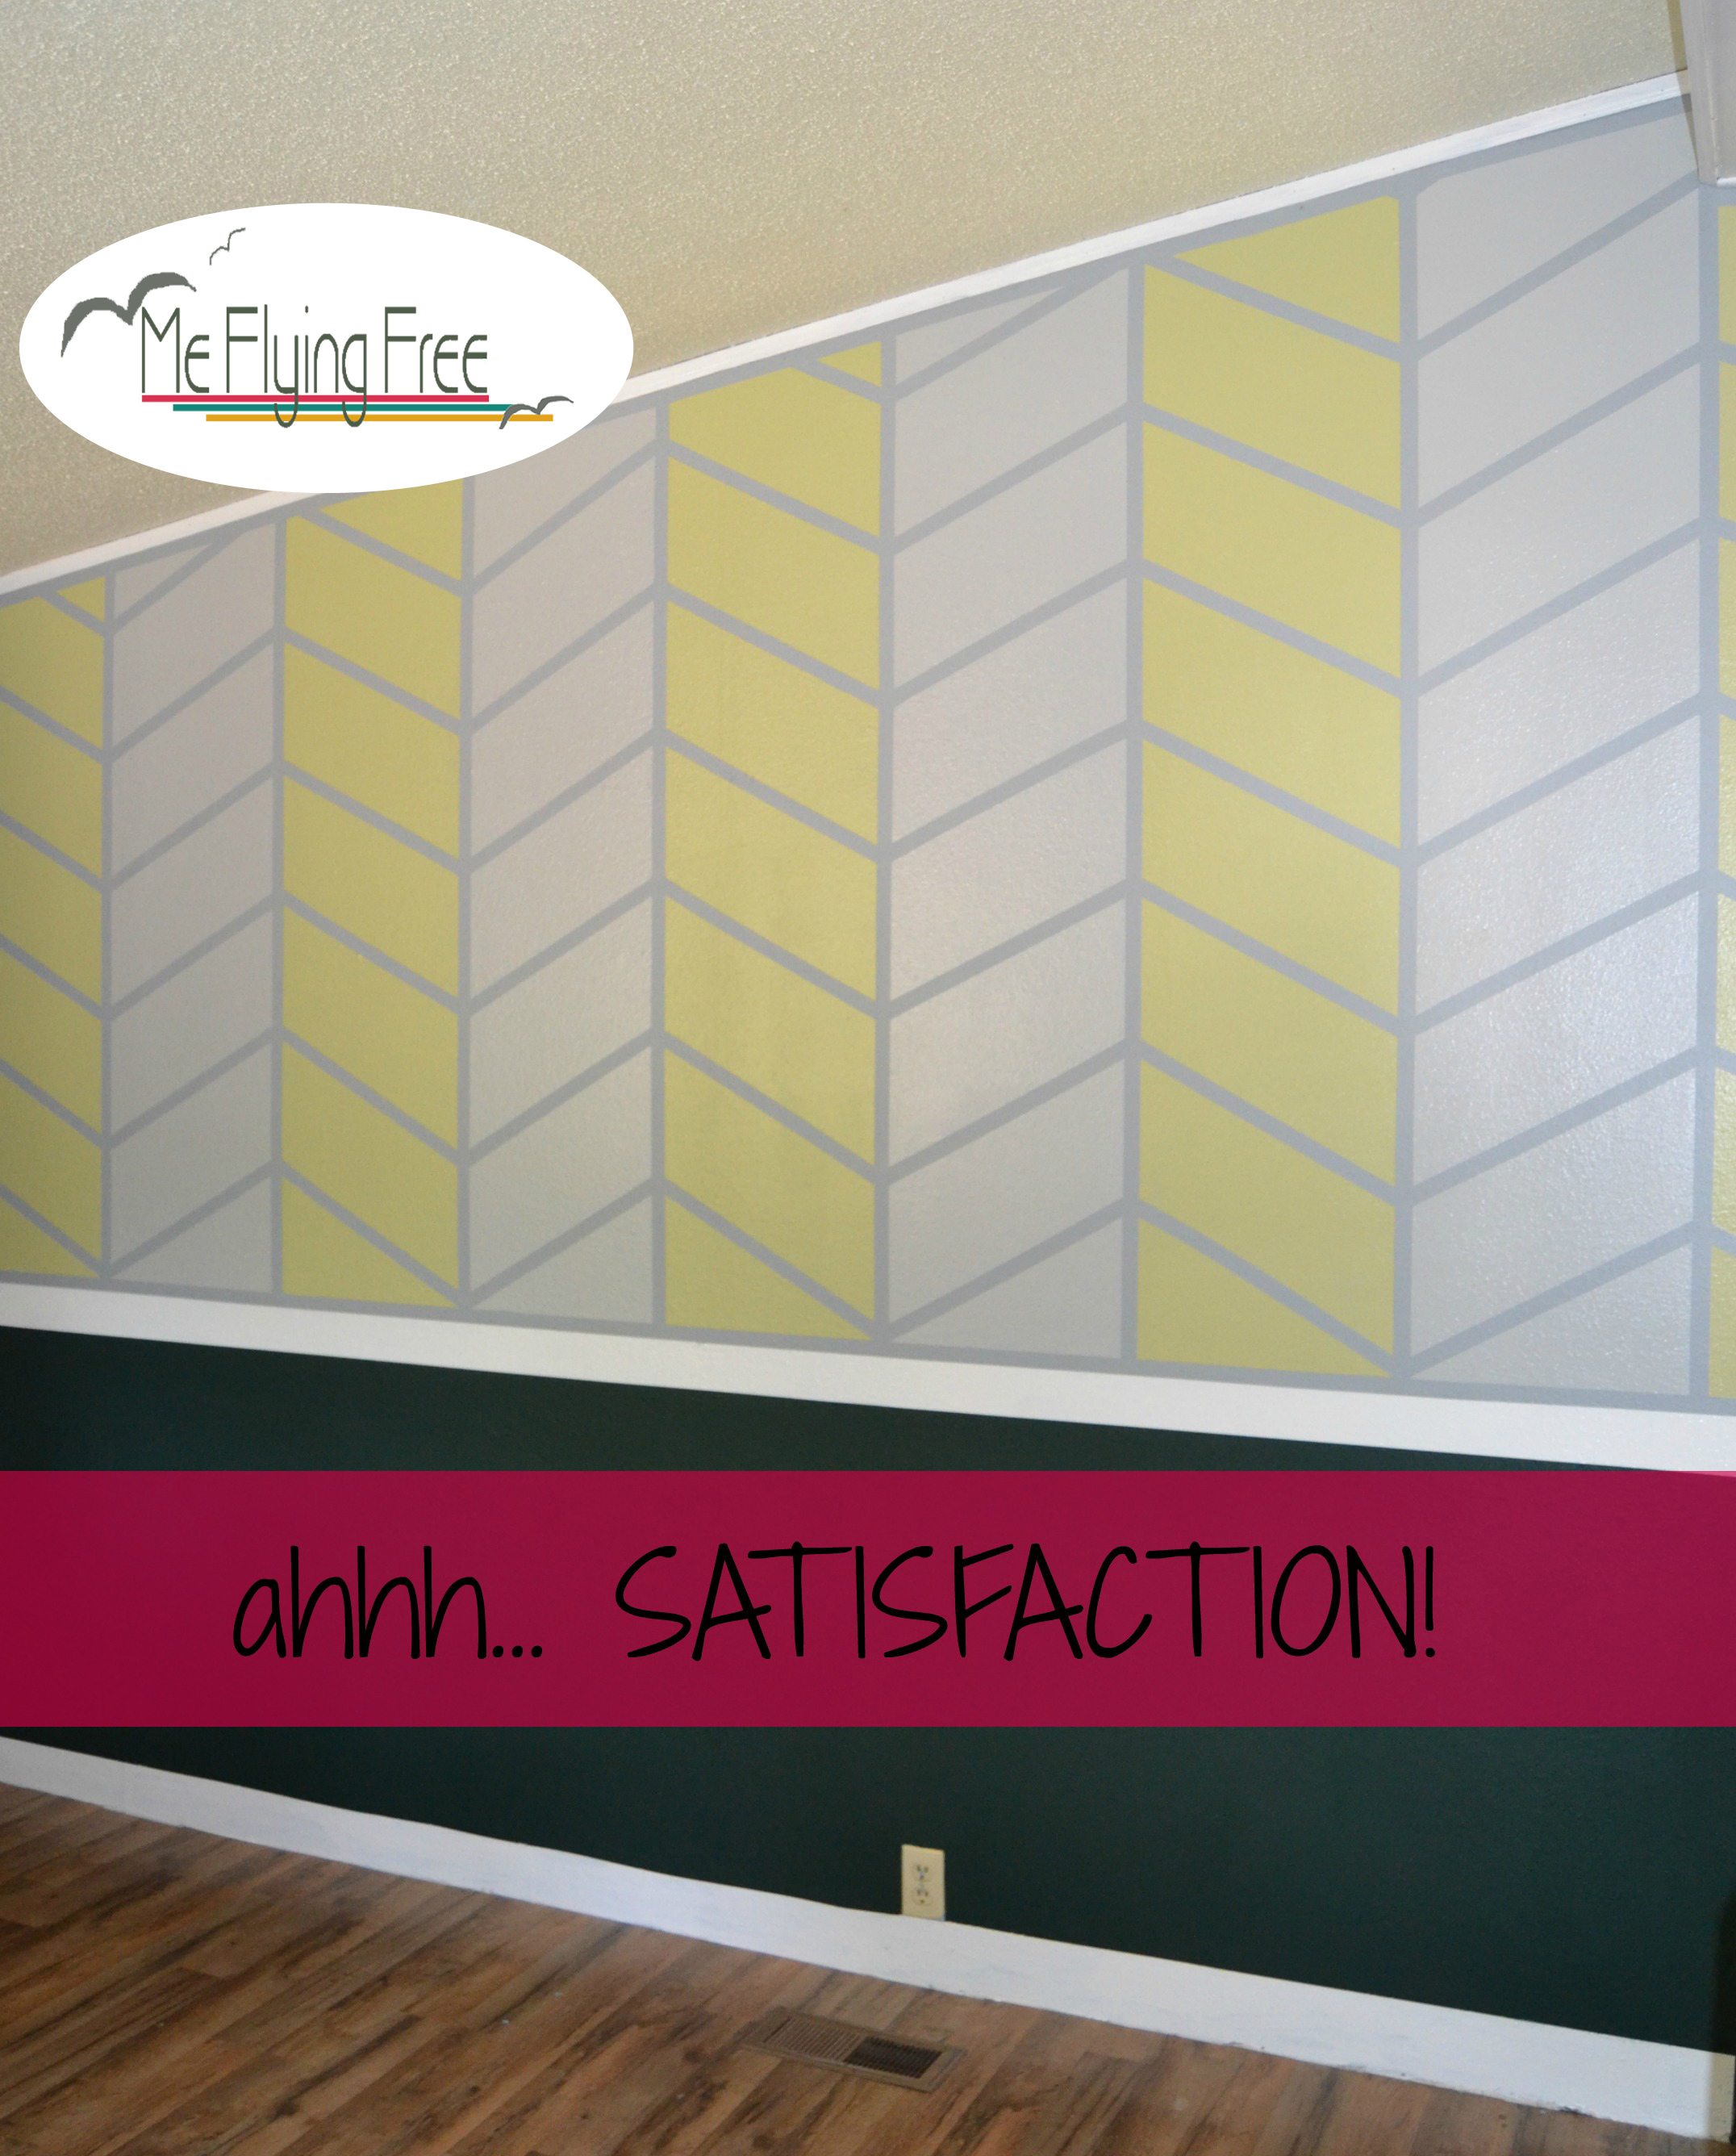
Step 10: Rejoice & Enjoy!!!
 Thank you for reading. Please be sure to pin and share this post.
God Bless You,


Stephaney - Me Flying Free
Latest posts by Stephaney - Me Flying Free (see all)
- I Would Rather Have Strep Throat… - October 20, 2017
- You will Never get Fully Clean in Your Old Machine - May 21, 2017
- Why I am So Sick of Webinars! - April 18, 2017

I love it Stephaney! I love the couch, it looks so much different! Great job!
beautiful job. Photos are awesome. loved it.